

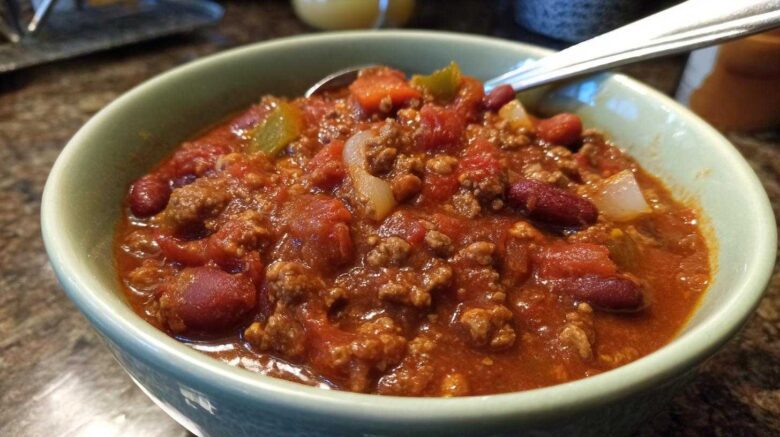
Make-Ahead Chili for Camping: Your Ultimate Outdoor Meal
Planning a camping trip? I’m Amelia, and my partner Jacob is the real chef in our house. He has this amazing knack for making even the most complicated meals feel simple. We both love the outdoors, but who wants to spend precious camping time chopping and stirring? That’s where our make-ahead chili for camping comes in. It’s a game-changer for effortless outdoor cooking. This recipe lets you enjoy a hearty, delicious meal without the fuss, leaving more time for campfires and starry nights. Jacob’s planning skills and my recipe testing make this a true Taste Portfolio gem.
Why You’ll Love This Make-Ahead Chili for Camping
- Prep it before you go.
- It’s perfect for any camping trip.
- Super hearty and incredibly satisfying.
- Freezes beautifully for later.
Effortless Outdoor Cooking with Make-Ahead Chili
This chili makes camping meals a breeze. You cook it at home. Then, you just reheat it at the campsite. It means less work for you. It truly makes your outdoor experience stress-free.
A Flavorful Camping Chili That Satisfies
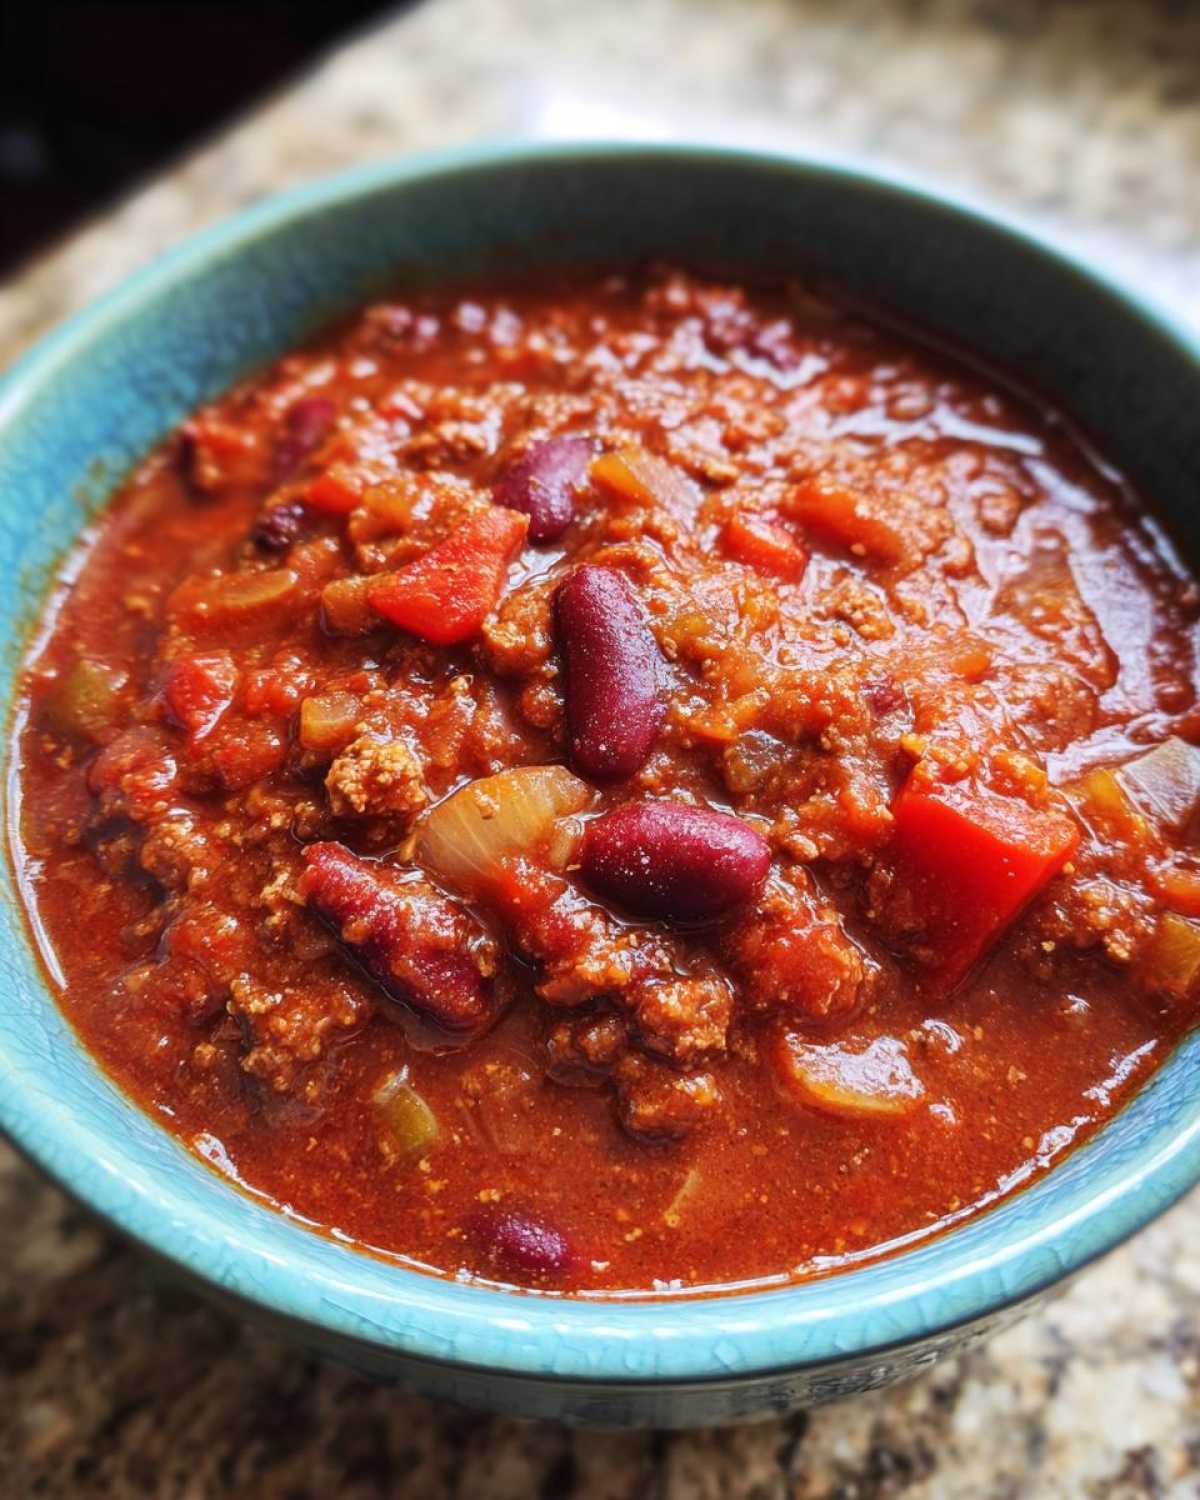
Imagine a rich, savory chili. It’s packed with beans and spices. This camping chili warms you up. It’s the perfect comfort food after a day of hiking. Your taste buds will thank you.
Gathering Your Ingredients for Make-Ahead Chili for Camping
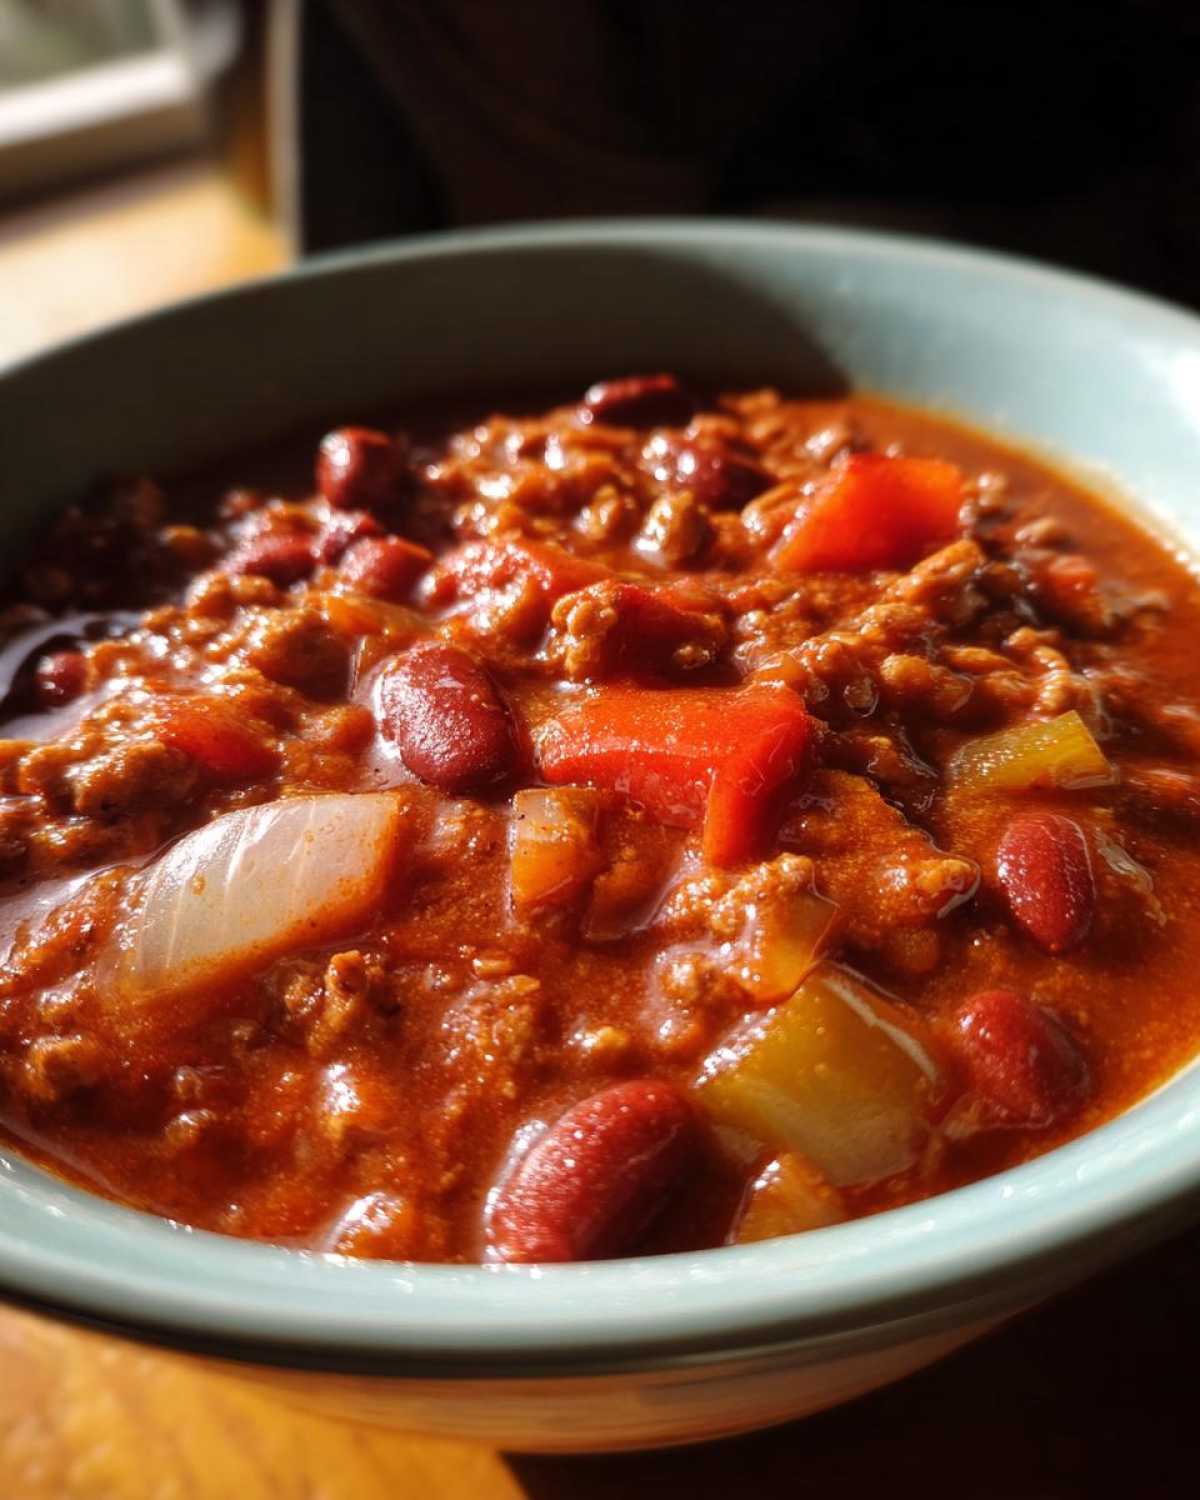
Let’s get everything ready for our amazing make-ahead chili for camping. Having all your ingredients prepped makes the cooking process smooth. You’ll need 2 pounds of ground beef. Chop up one large onion. Dice two colorful bell peppers. Grab two 15-ounce cans of kidney beans. Make sure to drain and rinse them well. Also, get one 15-ounce can of black beans. Drain and rinse these too. You’ll need one 28-ounce can of crushed tomatoes. Add one 10-ounce can of diced tomatoes with green chilies. Don’t forget one 4-ounce can of chopped green chilies. For the spices, measure out 2 tablespoons of chili powder. You’ll also need 1 tablespoon of cumin. Get 1 teaspoon each of garlic powder and onion powder. Finally, add 1/2 teaspoon of salt and 1/4 teaspoon of black pepper. Having everything measured out in advance is key for a great camping chili.
Step-by-Step Guide to Your Perfect Make-Ahead Chili for Camping
Making this chili is straightforward. It’s designed for busy people like us. Let’s walk through it.
Browning the Base for Your Camping Chili
Start by browning the ground beef. Use a large pot over medium-high heat. Cook it until it’s no longer pink. Drain off any extra grease. This step is important for a clean flavor in your make-ahead chili.
Building Flavor Layers in Your Make-Ahead Chili
Next, add the chopped onion and bell peppers. Cook them until they soften. This usually takes about 5 to 7 minutes. Then, stir in all your beans. Add the crushed tomatoes. Toss in the diced tomatoes with green chilies. Finally, add the chopped green chilies. These ingredients build the delicious base for your camping chili.
Simmering to Perfection: The Key to Great Chili
Now, add all your spices. This includes chili powder, cumin, garlic powder, onion powder, salt, and pepper. Stir everything together really well. Bring the chili to a gentle simmer. Lower the heat. Cover the pot. Let it cook for at least an hour. Stir it now and then. For the absolute best flavor in your make-ahead chili for camping, let it simmer for 2 to 3 hours. This slow cooking really lets the flavors meld. For more information on slow cooking techniques, you can refer to resources on the science of slow cooking.
Cooling and Storing Your Make-Ahead Chili for Camping
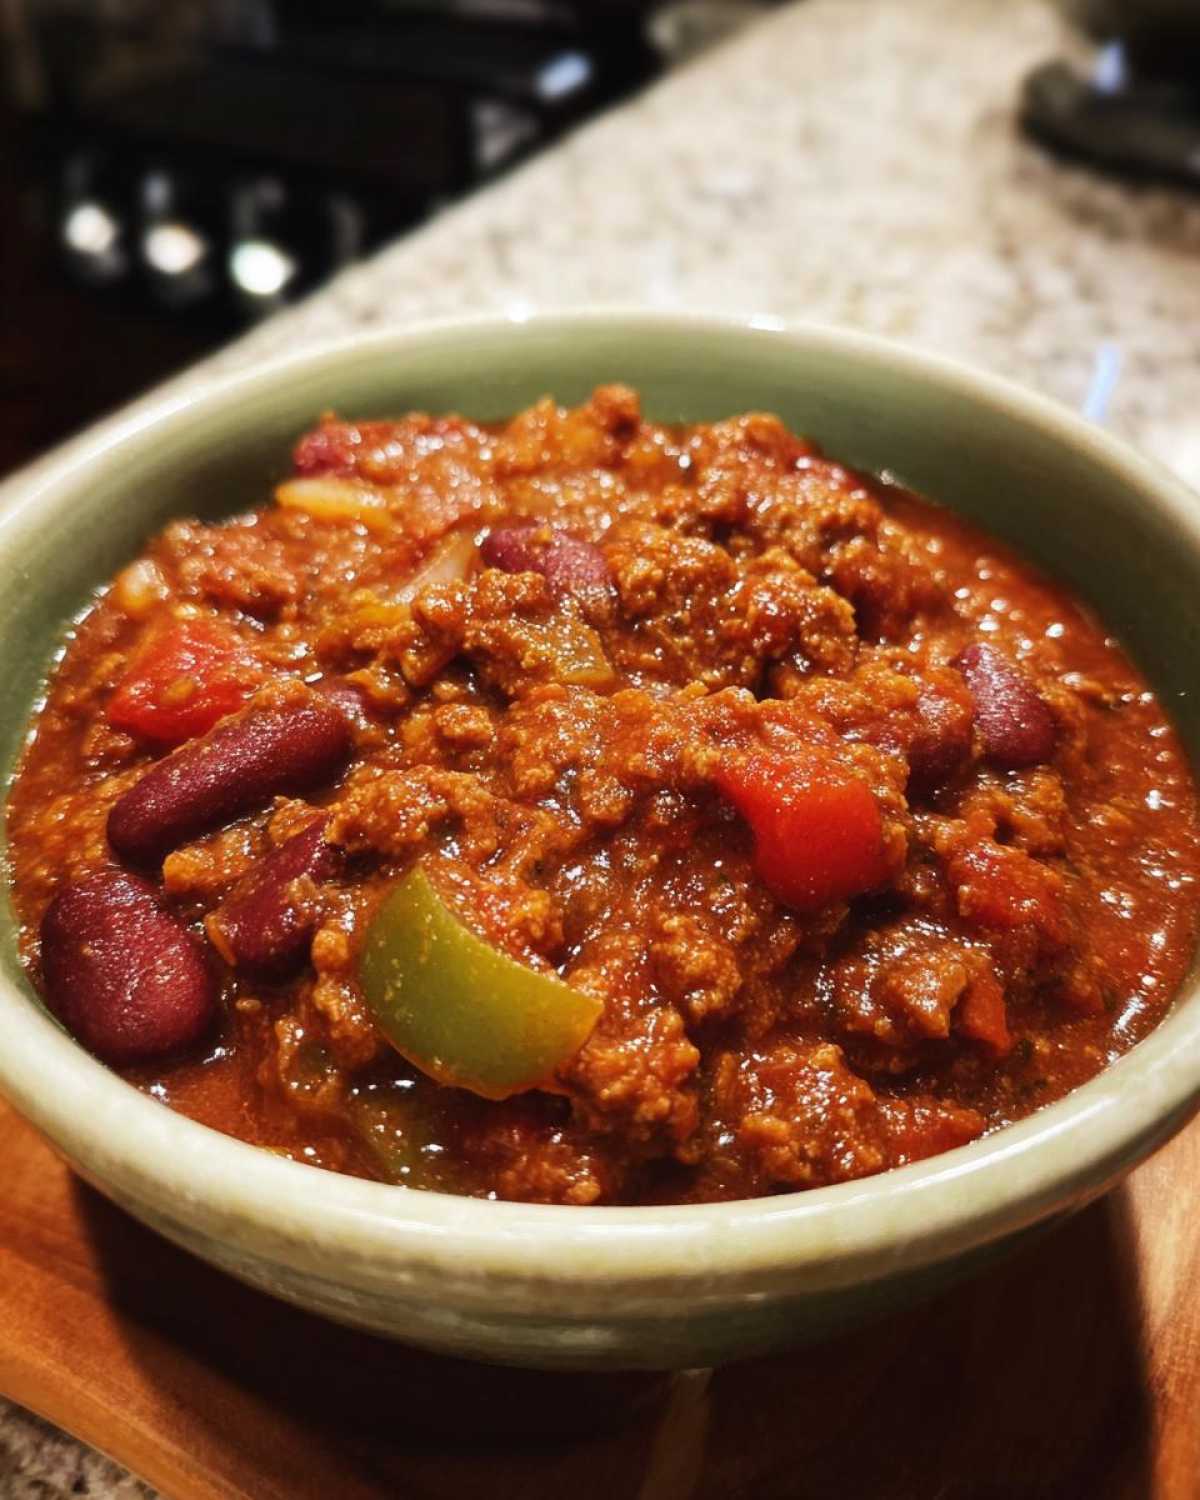
This is a crucial step for make-ahead meals. Let the chili cool down completely. Once it’s cool, portion it into freezer-safe containers or bags. This makes it super easy to grab and go for your camping trip. Proper storage keeps your camping chili fresh.
Tips for Success with Your Make-Ahead Chili for Camping
Here are a few tips to make your chili even better. You can adjust the spice level. Add more chili powder or green chilies if you like it hot. For a change, try adding corn or zucchini. These veggies are great in chili. Making it ahead really lets the flavors deepen. This is especially true when you freeze and then reheat your camping chili.
Customizing Your Camping Chili
Feel free to add extra veggies like corn or zucchini. You can also tweak the spice level. This makes your make-ahead chili perfect for your taste.
Ensuring Optimal Make-Ahead Chili for Camping Flavor Release
The flavors really get better over time. Especially after freezing and reheating. It truly enhances the camping chili experience.
Equipment Needed for Make-Ahead Chili for Camping
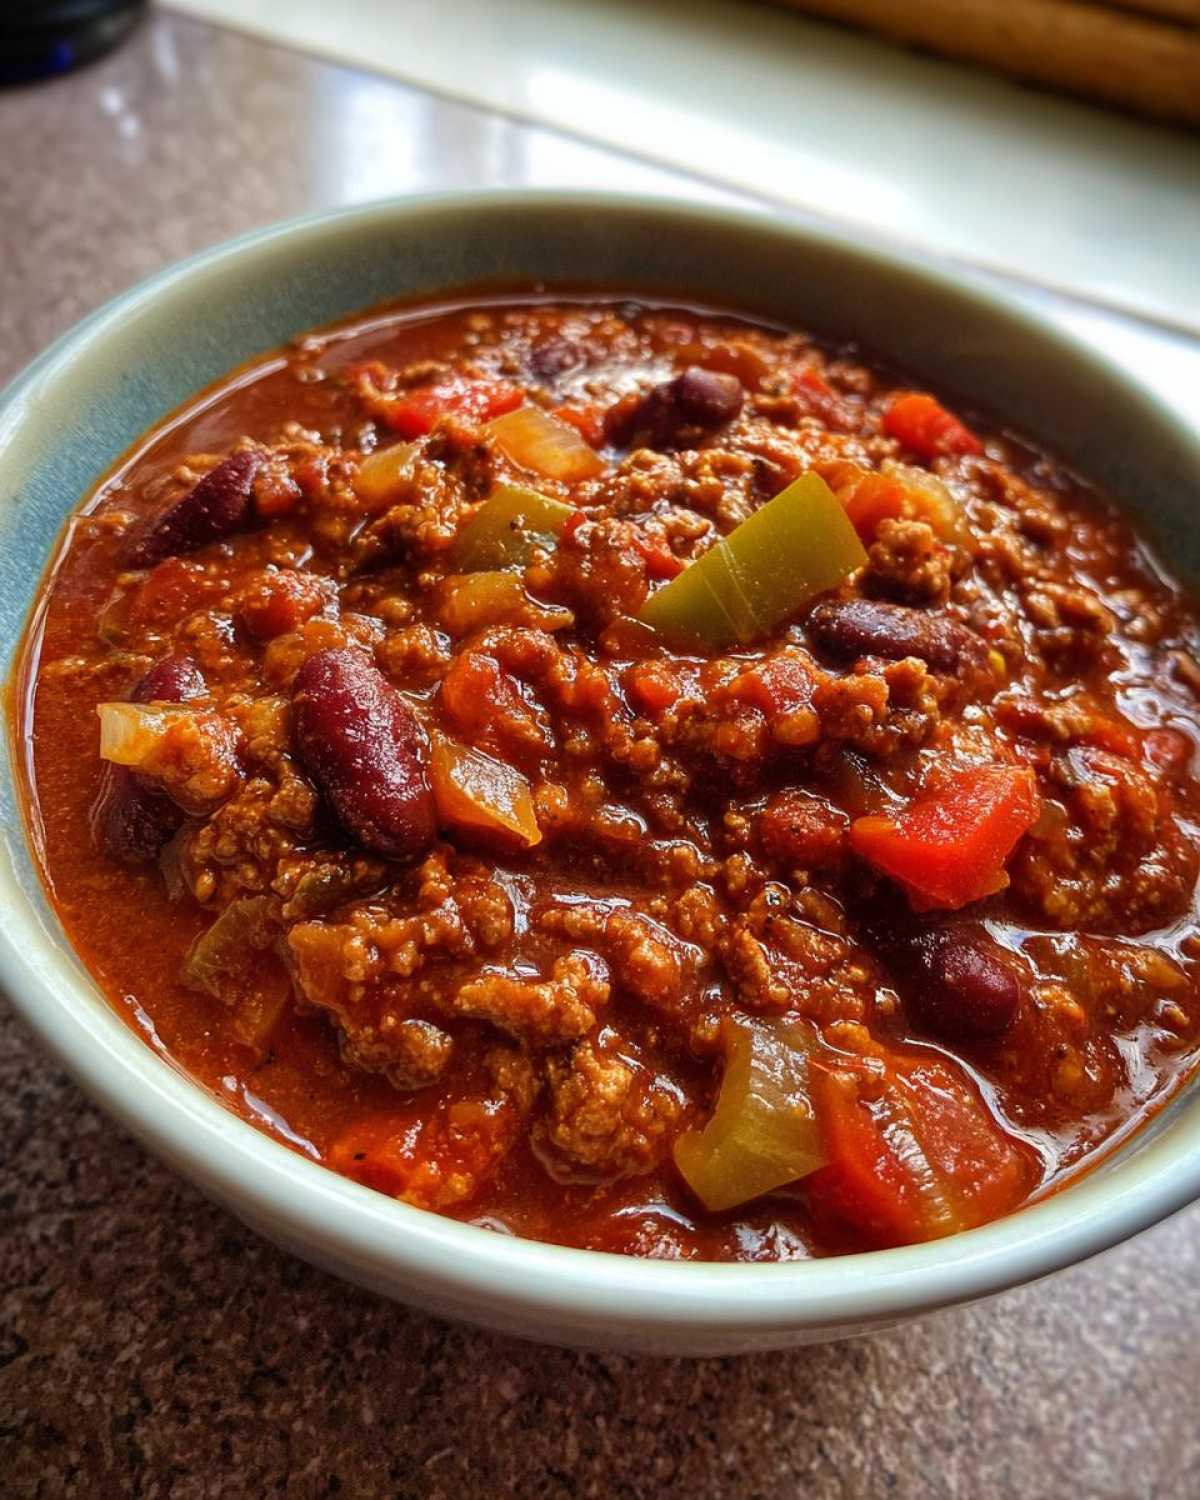
You’ll need a few basics. A large pot or Dutch oven is essential. Measuring cups and spoons are a must. You’ll also need freezer-safe containers or bags for storage. These items help you make your camping chili perfectly.
Serving and Enjoying Your Make-Ahead Chili for Camping
Once you’re at the campsite, it’s time to enjoy! Reheat the chili over low heat. Stir it often until it’s nice and hot. Serve it up with your favorite toppings. Shredded cheese, a dollop of sour cream, and fresh cilantro are fantastic. This make-ahead chili for camping is a true reward after a day outdoors.
Frequently Asked Questions About Make-Ahead Chili for Camping
How Long Can I Store Make-Ahead Chili for Camping?
You can store it in the fridge for up to 3 days. For longer storage, freeze your camping chili.
Can I Make This Chili Vegetarian?
Yes! Swap the ground beef for plant-based crumbles or extra beans. This makes a great vegetarian camping chili.
How Do I Reheat Make-Ahead Chili for Camping?
Reheat it slowly over low heat on your camp stove. Stir frequently until it’s heated through. You can also reheat it from frozen.
Nutritional Estimate for Make-Ahead Chili for Camping
This chili offers about 350 calories per serving. It’s a good source of protein and fiber. Fat content is around 15g. Remember, these are estimates for our make-ahead chili for camping.
Why You’ll Love This Make-Ahead Chili for Camping
You’ll adore this recipe for so many reasons.
- It’s incredibly easy to prepare ahead of time.
- It’s the absolute perfect meal for camping adventures.
- It’s wonderfully hearty and deeply satisfying.
- This chili freezes beautifully for later use.
Effortless Outdoor Cooking with Make-Ahead Chili
This chili truly simplifies camping meals. You cook it at home. Then, you just reheat it at the campsite. It means less work for you. It really makes your outdoor experience stress-free.
A Flavorful Camping Chili That Satisfies
Imagine a rich, savory chili. It’s packed with beans and spices. This camping chili warms you up. It’s the perfect comfort food after a day of hiking. Your taste buds will thank you.
Gathering Your Ingredients for Make-Ahead Chili for Camping
Let’s get everything ready for our amazing make-ahead chili for camping. Having all your ingredients prepped makes the cooking process smooth. You’ll need 2 pounds of ground beef. Chop up one large onion. Dice two colorful bell peppers. Grab two 15-ounce cans of kidney beans. Make sure to drain and rinse them well. Also, get one 15-ounce can of black beans. Drain and rinse these too. You’ll need one 28-ounce can of crushed tomatoes. Add one 10-ounce can of diced tomatoes with green chilies. Don’t forget one 4-ounce can of chopped green chilies. For the spices, measure out 2 tablespoons of chili powder. You’ll also need 1 tablespoon of cumin. Get 1 teaspoon each of garlic powder and onion powder. Finally, add 1/2 teaspoon of salt and 1/4 teaspoon of black pepper. Having everything measured out in advance is key for a great camping chili.
Step-by-Step Guide to Your Perfect Make-Ahead Chili for Camping
Making this chili is straightforward. It’s designed for busy people like us. Let’s walk through it. This recipe ensures a delicious camping chili that’s ready when you are.
Browning the Base for Your Camping Chili
Start by browning the ground beef. Use a large pot over medium-high heat. Cook it until it’s no longer pink. Drain off any extra grease. This step is important for a clean flavor in your make-ahead chili.
Building Flavor Layers in Your Make-Ahead Chili
Next, add the chopped onion and bell peppers. Cook them until they soften. This usually takes about 5 to 7 minutes. Then, stir in all your beans. Add the crushed tomatoes. Toss in the diced tomatoes with green chilies. Finally, add the chopped green chilies. These ingredients build the delicious base for your camping chili.
Simmering to Perfection: The Key to Great Chili
Now, add all your spices. This includes chili powder, cumin, garlic powder, onion powder, salt, and pepper. Stir everything together really well. Bring the chili to a gentle simmer. Lower the heat. Cover the pot. Let it cook for at least an hour. Stir it now and then. For the absolute best flavor in your make-ahead chili for camping, let it simmer for 2 to 3 hours. This slow cooking really lets the flavors meld.
Cooling and Storing Your Make-Ahead Chili for Camping
This is a crucial step for make-ahead meals. Let the chili cool down completely. Once it’s cool, portion it into freezer-safe containers or bags. This makes it super easy to grab and go for your camping trip. Proper storage keeps your camping chili fresh.
Tips for Success with Your Make-Ahead Chili for Camping
To get the most from this make-ahead chili for camping, a few little tricks go a long way. Don’t be afraid to adjust the spice. If you love heat, add more chili powder or a pinch of cayenne. I sometimes toss in some frozen corn or diced zucchini for extra veggie power. It really boosts the flavor and texture of your camping chili. Proper storage is also key. Make sure the chili cools completely before freezing. This keeps it fresh for your next adventure. For tips on food safety during camping, check out these guidelines from the CDC.
Customizing Your Camping Chili
Feel free to add extra veggies like corn or zucchini. You can also tweak the spice level. This makes your make-ahead chili perfect for your taste.
Ensuring Optimal Make-Ahead Chili for Camping Flavor Release
The flavors really get better over time. Especially after freezing and reheating. It truly enhances the camping chili experience.
Equipment Needed for Make-Ahead Chili for Camping
To make this delicious make-ahead chili for camping, you’ll need a few key items. A large pot or Dutch oven is essential for cooking the chili. Make sure you have measuring cups and spoons for accuracy. Finally, you’ll need freezer-safe containers or bags. These are crucial for storing your camping chili properly until your trip.
Serving and Enjoying Your Make-Ahead Chili for Camping
The best part is serving up your delicious make-ahead chili for camping. Once it’s heated through at your campsite, it’s ready for all the fixings. We love loading ours up with shredded cheese. A dollop of sour cream cools the spice. Fresh cilantro adds a bright finish. It’s such a comforting meal after a day exploring the outdoors. Enjoy every spoonful of this hearty camping chili!
Frequently Asked Questions About Make-Ahead Chili for Camping
Got questions about our fantastic make-ahead chili for camping? I’ve got answers!
How Long Can I Store Make-Ahead Chili for Camping?
You can keep this chili in the fridge for up to 3 days. For longer trips, freeze your camping chili.
Can I Make This Chili Vegetarian?
Absolutely! Just swap the beef for plant-based crumbles or add more beans. It makes a wonderful vegetarian camping chili.
How Do I Reheat Make-Ahead Chili for Camping?
Reheat it slowly over low heat on your camp stove. Stir often until it’s heated through. You can reheat it from frozen, too.
Nutritional Estimate for Make-Ahead Chili for Camping
This hearty make-ahead chili for camping is quite nutritious. A serving offers about 350 calories. It provides a good amount of protein, around 25g. You’ll get about 15g of fat and 30g of carbohydrates. Remember, these values are estimates. They can change based on your specific ingredients and portion sizes for this camping chili.
PrintHearty Make-Ahead Chili for Camping: 1 Delicious Meal
Prepare this hearty chili ahead of time for a delicious and easy camping meal. Simply reheat and enjoy the outdoors!
- Prep Time: 20 minutes
- Cook Time: 2-3 hours
- Total Time: 2 hours 20 minutes
- Yield: 8 servings
- Category: Main Course
- Method: Stovetop
- Cuisine: American
- Diet: Vegetarian
Ingredients
- 2 lbs ground beef
- 1 large onion, chopped
- 2 bell peppers, chopped
- 2 cans (15 oz each) kidney beans, drained and rinsed
- 1 can (15 oz) black beans, drained and rinsed
- 1 can (28 oz) crushed tomatoes
- 1 can (10 oz) diced tomatoes with green chilies
- 1 can (4 oz) chopped green chilies
- 2 tablespoons chili powder
- 1 tablespoon cumin
- 1 teaspoon garlic powder
- 1 teaspoon onion powder
- 1/2 teaspoon salt
- 1/4 teaspoon black pepper
- Optional toppings: shredded cheese, sour cream, chopped cilantro
Instructions
- Brown the ground beef in a large pot or Dutch oven over medium-high heat. Drain off any excess grease.
- Add the chopped onion and bell peppers to the pot and cook until softened, about 5-7 minutes.
- Stir in the kidney beans, black beans, crushed tomatoes, diced tomatoes with green chilies, and chopped green chilies.
- Add the chili powder, cumin, garlic powder, onion powder, salt, and pepper. Stir well to combine.
- Bring the chili to a simmer, then reduce the heat to low, cover, and cook for at least 1 hour, stirring occasionally. For best flavor, simmer for 2-3 hours.
- Allow the chili to cool completely before portioning it into freezer-safe containers or bags.
- When ready to camp, thaw the chili overnight in the refrigerator or reheat it directly from frozen over low heat, stirring frequently, until heated through.
- Serve hot with your favorite toppings.
Notes
- This chili can be made up to 3 days in advance and stored in the refrigerator.
- It freezes exceptionally well for longer storage.
- Adjust the spice level by adding more or less chili powder and green chilies.
- Consider adding other vegetables like corn or zucchini.
Nutrition
- Serving Size: 1.5 cups
- Calories: 350
- Sugar: 10g
- Sodium: 700mg
- Fat: 15g
- Saturated Fat: 5g
- Unsaturated Fat: 10g
- Trans Fat: 0g
- Carbohydrates: 30g
- Fiber: 10g
- Protein: 25g
- Cholesterol: 70mg