

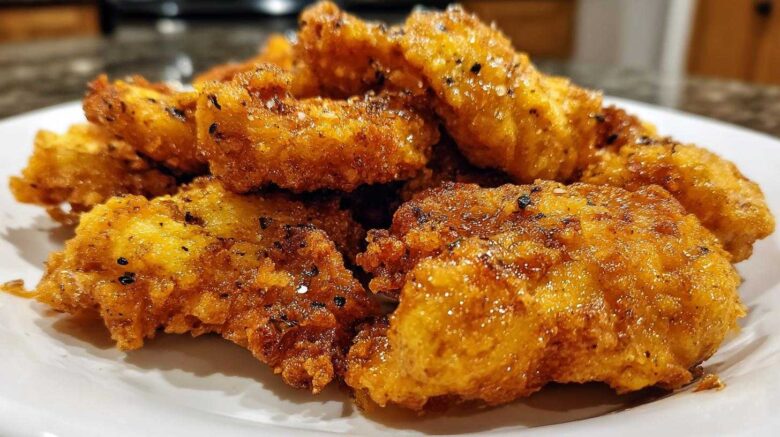
Bat Wing Chicken Nuggets: A Spooky and Fun Halloween Treat
Halloween is my absolute favorite time to get creative in the kitchen. There’s just something magical about transforming everyday meals into spooky delights. This year, I wanted something truly special for our family. We needed a main dish that screamed Halloween fun. That’s when the idea for Bat Wing Chicken Nuggets was born! They’re not only incredibly cute, but they’re also a huge hit with everyone, young and old. These little guys are perfect for a festive dinner or even a Halloween party spread. I love how they capture that playful, spooky spirit we all look forward to.
Why You’ll Love These Bat Wing Chicken Nuggets
- Super easy to make.
- They are the perfect festive Halloween food.
- Kids absolutely adore them.
- They taste wonderfully delicious.
- They bring a fun, spooky vibe to any meal.
Amelia’s Kitchen Adventures with Bat Wing Chicken Nuggets
Planning meals is my jam, as you know from our “Taste Portfolio” story. When Halloween rolled around, I immediately started brainstorming themed dishes. Jacob is always my willing partner in these culinary projects. I wanted something that was both fun to look at and genuinely tasty. These Bat Wing Chicken Nuggets felt like the perfect fit. I loved seeing them come to life, especially with a little food coloring to make them extra spooky. It’s these kinds of projects, where we blend my planning with his cooking magic, that truly make our kitchen our favorite place.
Essential Ingredients for Your Bat Wing Chicken Nuggets
Getting these spooky delights ready is a breeze with just a few pantry staples. You’ll need about a pound of boneless, skinless chicken breasts. Make sure to cut them into nice, bite-sized chunks, about one inch each. For our crispy coating, we’ll grab half a cup of all-purpose flour. Seasoning is key, so have your salt, black pepper, garlic powder, and a pinch of paprika ready. We’ll need two large eggs for our binder. Then, for that irresistible crunch, a cup of panko breadcrumbs is a must. If you like a little kick, a quarter teaspoon of cayenne pepper is optional but highly recommended! And of course, vegetable oil for frying.
Ingredient Notes and Substitution Ideas
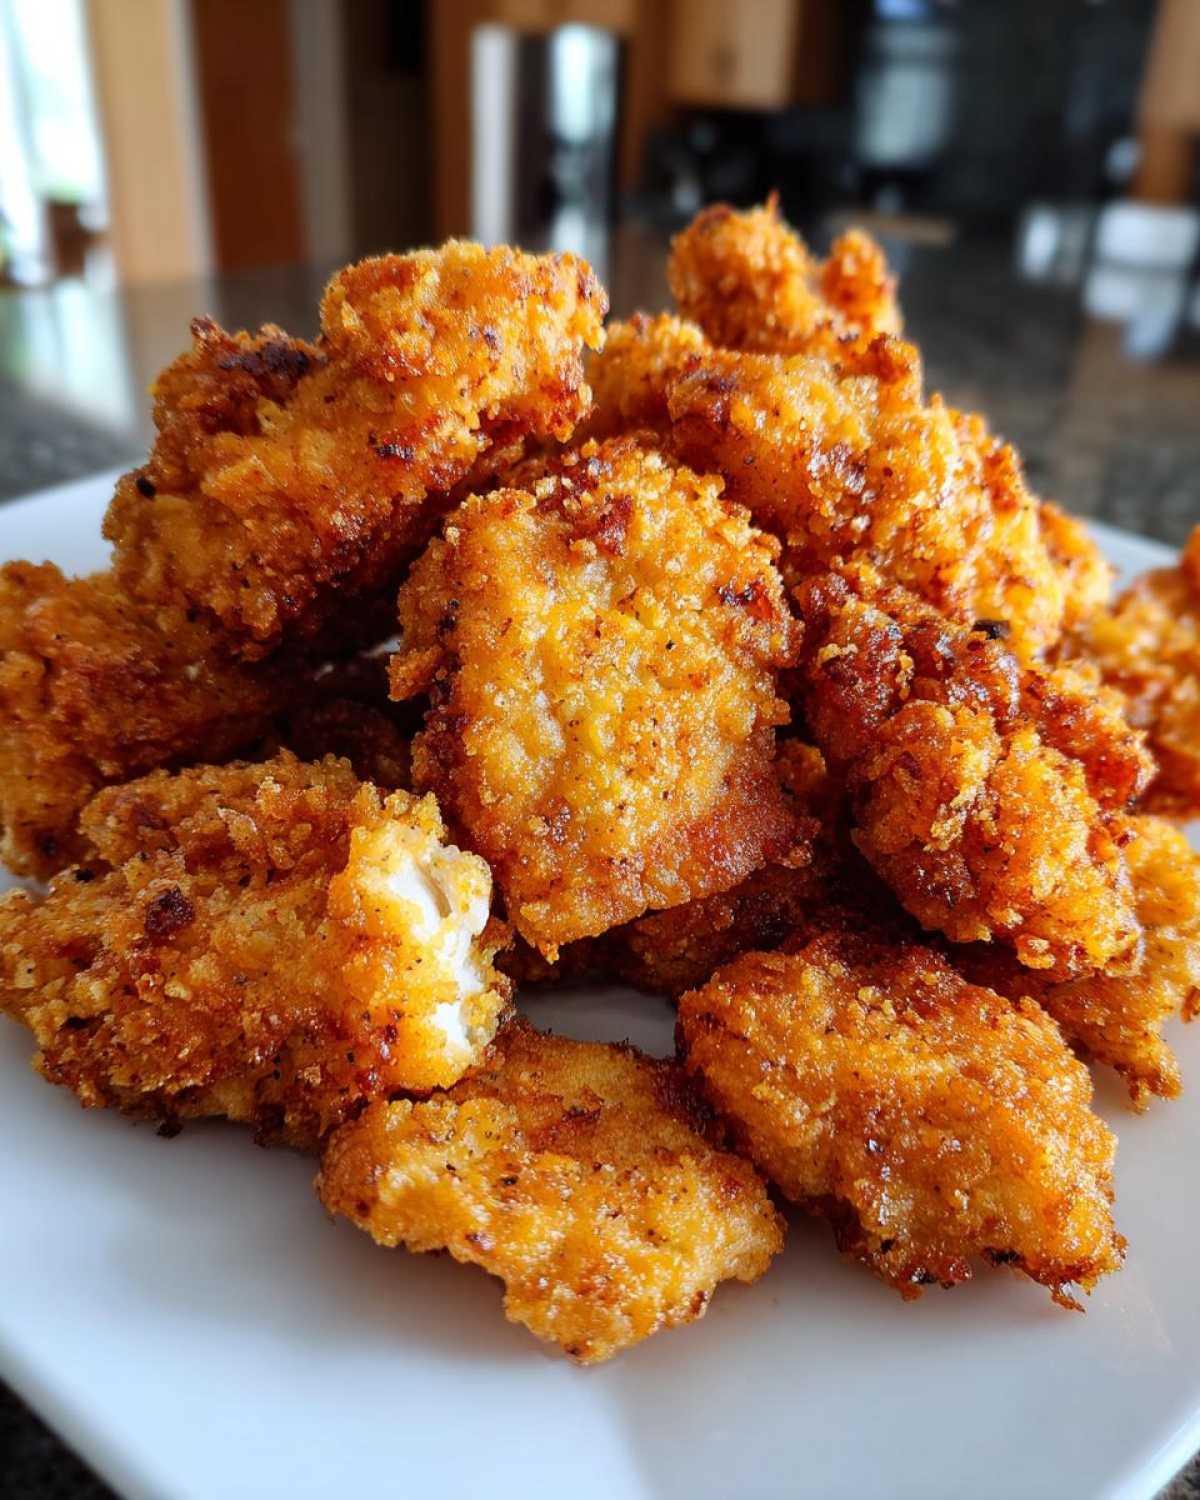
Panko breadcrumbs are my secret weapon for extra-crispy chicken. They’re coarser than regular breadcrumbs. This gives our Bat Wing Chicken Nuggets that perfect crunch. If you can’t find panko, regular breadcrumbs will work, but they might not be as light. For the chicken, you can use thighs if you prefer, but breasts cook up nicely and are easier to get that wing shape. Don’t have panko? No worries! You can also pulse some stale bread in a food processor to make your own. The cayenne pepper adds a subtle warmth, but feel free to skip it if you’re serving very little ones.
Crafting Perfect Bat Wing Chicken Nuggets: Step-by-Step
Let’s get these spooky nuggets ready to fly! First, grab three shallow dishes. In the first one, mix your flour, salt, pepper, garlic powder, and paprika. This is our first coating. In the second dish, whisk those eggs until they’re nicely beaten. The third dish is for our crunchy panko breadcrumbs. I like to add Parmesan cheese and that optional cayenne pepper here too. It gives them a little extra flavor. Now, take each chicken piece. Dip it in the flour mixture first. Make sure it’s coated all over, then shake off any extra. The flour helps the egg stick. Next, dip the floured chicken into the beaten eggs. Let any extra egg drip back into the dish. Finally, press each piece into the panko mixture. Get a really good coating on them. This is what makes them so wonderfully crispy!
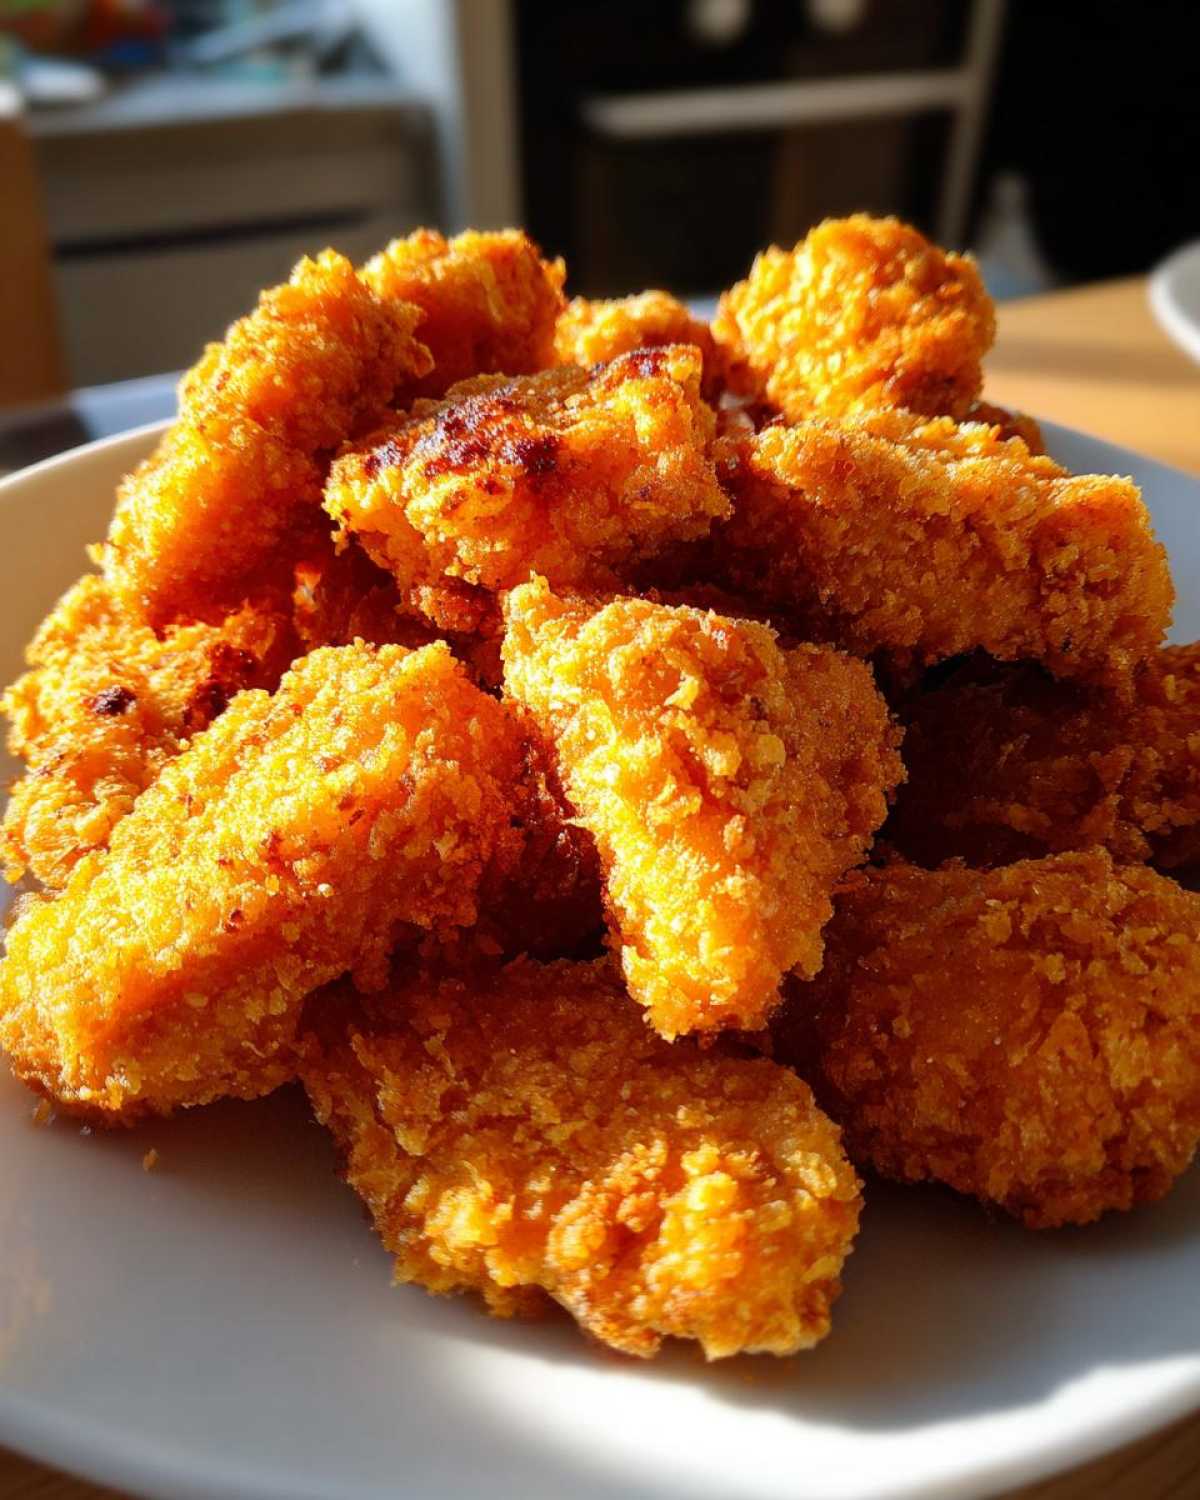
Now for the fun part: the color! Divide your coated chicken into two bowls. Add a few drops of orange food coloring to one. Toss gently to coat. Do the same with black food coloring in the other bowl. This makes them look just like little bat wings! While you’re doing this, start heating about an inch of vegetable oil in a large skillet. You want it to reach 350°F (175°C). A thermometer is super helpful here. If the oil isn’t hot enough, they’ll be greasy. If it’s too hot, they’ll burn before cooking through. Carefully add the chicken nuggets to the hot oil. Don’t crowd the pan! Fry them in batches. This helps them cook evenly. They only need about 3 to 4 minutes per side. You’re looking for a lovely golden brown color. Once they’re done, use a slotted spoon to lift them out. Place them on a wire rack over a baking sheet to drain. This keeps them crispy!
Achieving Crispy Perfection with Your Bat Wing Chicken Nuggets
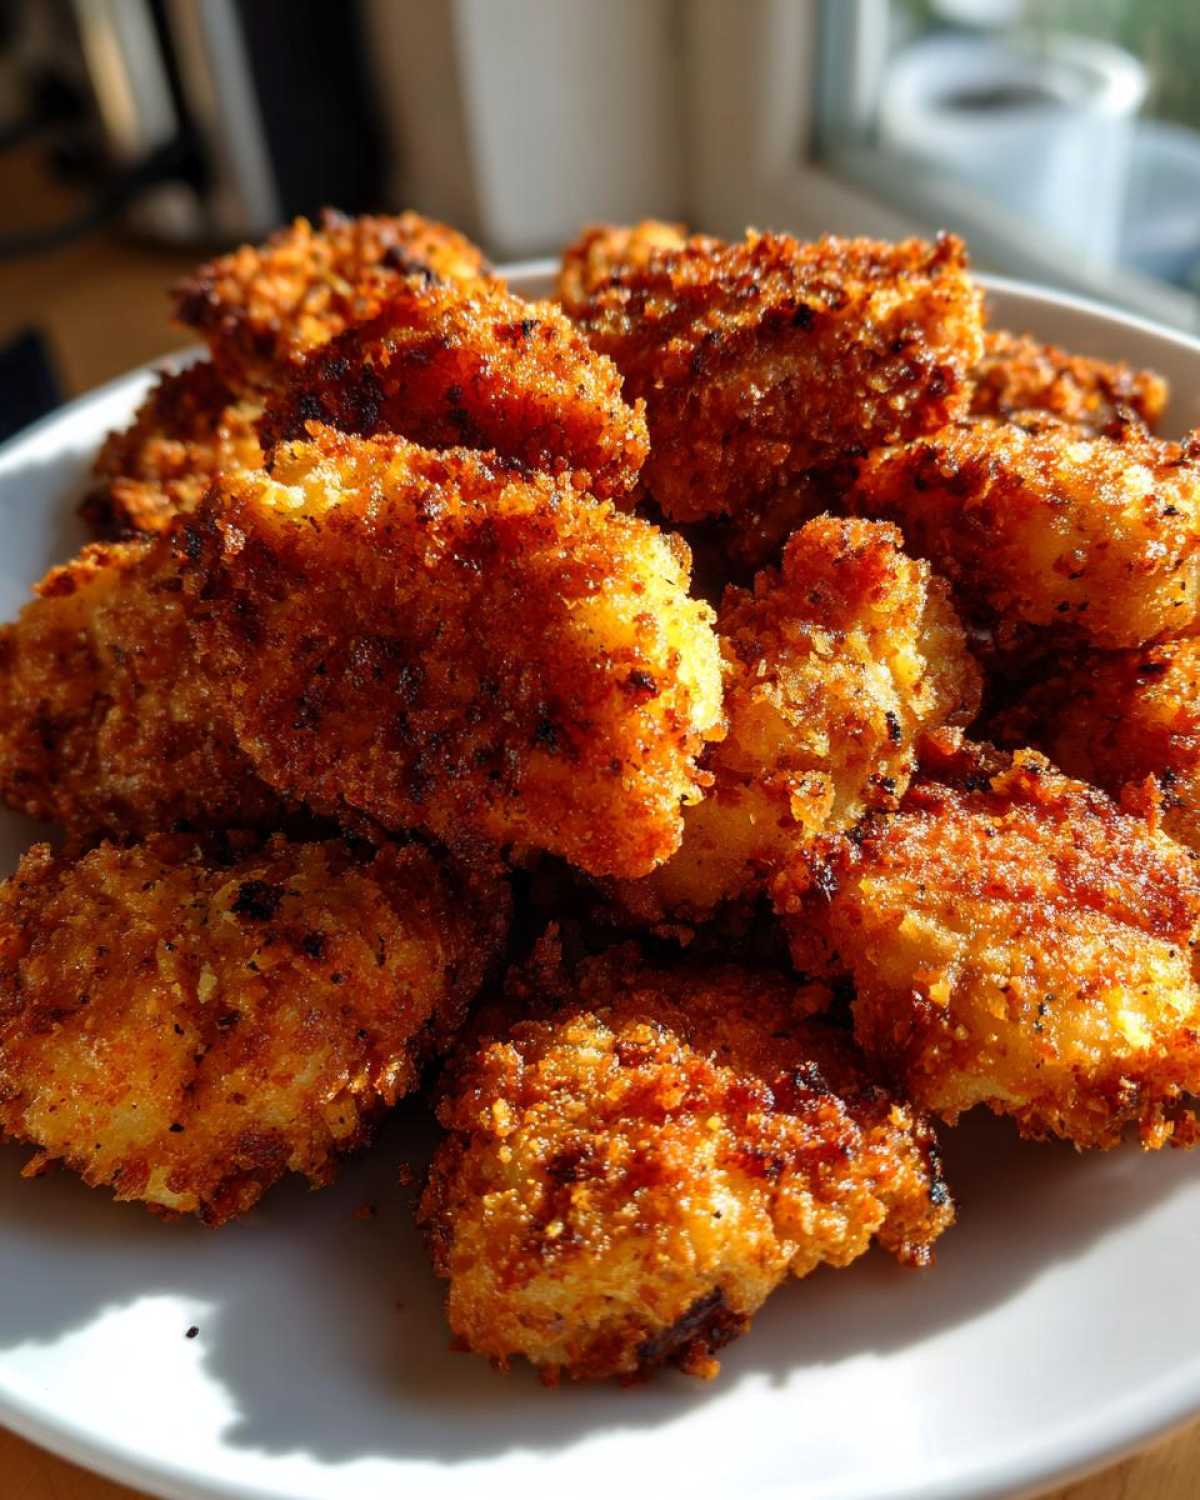
For that ultimate crispiness, temperature is everything. Make sure your oil is just right before adding the nuggets. Don’t overcrowd the pan either! Giving the nuggets space lets the heat circulate properly. This ensures they all get that beautiful, crunchy coating. It’s a small detail that makes a big difference.
Baking as a Healthier Bat Wing Chicken Nuggets Option
If frying isn’t your thing, no worries! You can bake these Bat Wing Chicken Nuggets too. Preheat your oven to 400°F (200°C). Arrange the coated nuggets on a baking sheet. Bake them for about 15 to 20 minutes. Remember to flip them halfway through. This helps them brown nicely on both sides. They’ll still be delicious and fun!
Frequently Asked Questions About Bat Wing Chicken Nuggets
Got questions about our spooky nuggets? I’ve got answers! Many of you ask about storing leftovers. You can keep cooled Bat Wing Chicken Nuggets in an airtight container in the fridge for up to three days. Reheating is best done in a toaster oven or a regular oven at 350°F (175°C) for about 5-10 minutes. This helps them regain that lovely crispiness. Don’t microwave them if you want them to stay crunchy!
What if I don’t have panko? Regular breadcrumbs work well too! You can also make your own by pulsing stale bread in a food processor. Are they really spicy? The cayenne pepper is optional. Leave it out for a milder flavor, perfect for little ones. Can I make them ahead of time? You can coat the chicken nuggets and refrigerate them for a few hours before frying or baking. Just make sure they’re not sitting in the egg mixture too long.
Serving and Storing Your Festive Bat Wing Chicken Nuggets
These Bat Wing Chicken Nuggets are fantastic served with classic favorites! Think creamy ranch dip, tangy BBQ sauce, or a zesty honey mustard. For a real Halloween vibe, try a bright orange cheese sauce or a spooky black garlic aioli. They’re a hit at any party or family dinner.
Leftovers? No problem! Let the nuggets cool completely. Store them in an airtight container in the refrigerator for up to three days. To reheat and bring back that wonderful crispiness, I always opt for the oven or a toaster oven. Pop them on a baking sheet at 350°F (175°C) for about 5-10 minutes. This way, they’re almost as good as freshly made!
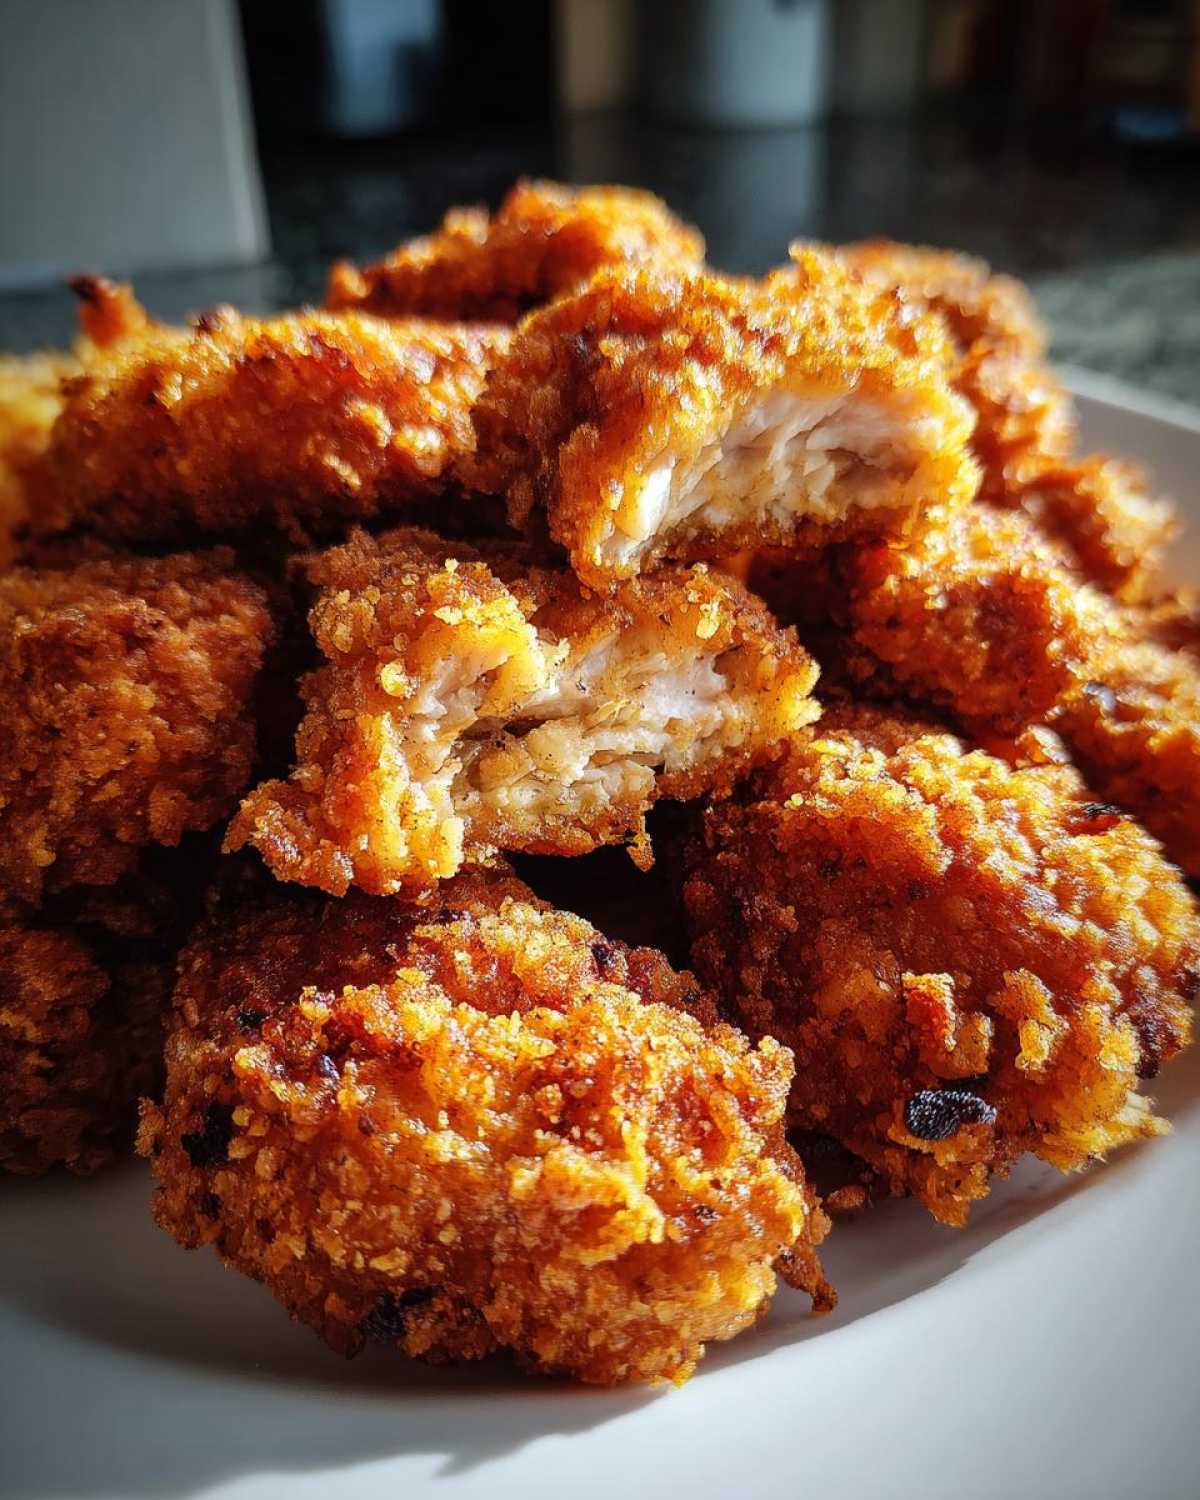
Estimated Nutritional Information for Bat Wing Chicken Nuggets
Here’s a general idea of what you can expect in each serving of these fun Bat Wing Chicken Nuggets. Please remember these are estimates. They can change based on exact ingredients and portion sizes. A typical serving might include around 350 calories. You’ll also find roughly 18g of fat and about 25g of protein. Carbohydrates usually come in around 20g. These are great for a festive meal!
Share Your Bat Wing Chicken Nuggets Creations!
I absolutely love seeing your kitchen creations! Did you make these awesome Bat Wing Chicken Nuggets? I’d be thrilled if you shared your photos and experiences with me. Tag us on social media with #TastePortfolio or leave a comment below. Your feedback helps our collection grow! You can also review our disclaimer for more information.
PrintAmazing Bat Wing Chicken Nuggets
Whip up these fun Bat Wing Chicken Nuggets for a spooky and delicious Halloween treat! They’re easy to make and perfect for a festive meal.
- Prep Time: 15 minutes
- Cook Time: 15 minutes
- Total Time: 30 minutes
- Yield: 4 servings
- Category: Main Course
- Method: Frying
- Cuisine: American
- Diet: Vegetarian
Ingredients
- 1 pound boneless, skinless chicken breasts, cut into 1-inch pieces
- 1/2 cup all-purpose flour
- 1 teaspoon salt
- 1/2 teaspoon black pepper
- 1/2 teaspoon garlic powder
- 1/4 teaspoon paprika
- 2 large eggs, beaten
- 1 cup panko breadcrumbs
- 1/4 cup grated Parmesan cheese
- 1/4 teaspoon cayenne pepper (optional)
- Vegetable oil, for frying
- Orange and black food coloring (optional)
Instructions
- In a shallow dish, whisk together flour, salt, pepper, garlic powder, and paprika.
- In another shallow dish, lightly beat the eggs.
- In a third shallow dish, combine panko breadcrumbs, Parmesan cheese, and cayenne pepper (if using).
- Dip each chicken piece into the flour mixture, shaking off excess.
- Next, dip the floured chicken into the beaten eggs, letting any excess drip off.
- Finally, coat the chicken thoroughly with the panko mixture, pressing gently to adhere.
- If using food coloring, divide the coated chicken into two batches. Add a few drops of orange food coloring to one batch and black food coloring to the other, tossing gently to coat.
- Heat about 1 inch of vegetable oil in a large skillet over medium-high heat to 350°F (175°C).
- Carefully add the chicken nuggets in batches, ensuring not to overcrowd the skillet.
- Fry for 3-4 minutes per side, or until golden brown and cooked through.
- Remove nuggets with a slotted spoon and place on a wire rack set over a baking sheet to drain.
- Serve immediately with your favorite dipping sauces.
Notes
- For crispier nuggets, ensure the oil is at the correct temperature.
- You can bake these nuggets at 400°F (200°C) for 15-20 minutes, flipping halfway through, for a healthier option.
- Experiment with different dipping sauces like ranch, BBQ, or a spicy aioli.
Nutrition
- Serving Size: 1 serving
- Calories: 350
- Sugar: 2g
- Sodium: 450mg
- Fat: 18g
- Saturated Fat: 4g
- Unsaturated Fat: 14g
- Trans Fat: 0g
- Carbohydrates: 20g
- Fiber: 1g
- Protein: 25g
- Cholesterol: 100mg