

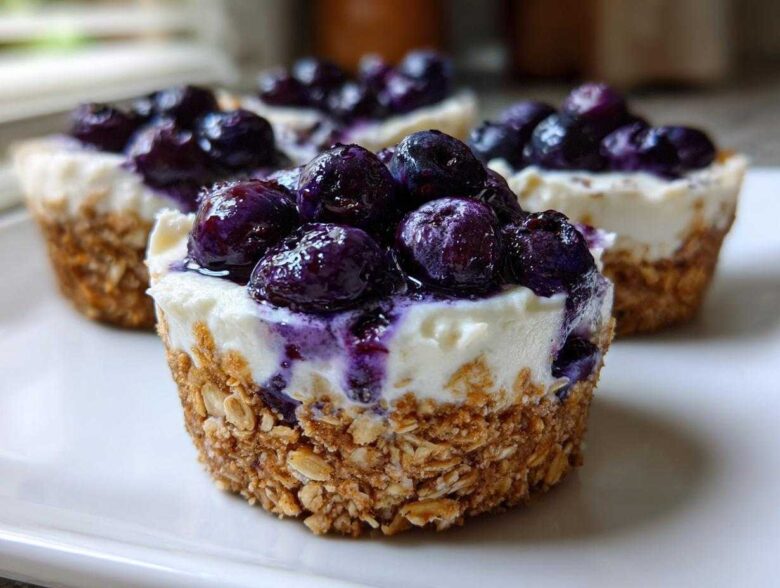
Oh my gosh, you know those intense moments when you’re seriously craving cheesecake—like, *right now*—but the thought of turning on the oven makes you sweat ten minutes into summer? I live for those cravings! That’s exactly why I perfected these No-Bake Blueberry Cheesecake Oat Cups. Trust me, as someone who basically lives in the kitchen, I’ve mastered the art of the quick fix. These little treats hit the spot every single time because they give you that creamy, tangy cheesecake flavor, a fantastic blueberry burst, and a surprisingly satisfying oat crust. Plus, they’re portioned perfectly! I whip these up when company is unexpectedly coming over, or when I just can’t wait until tomorrow for dessert.
We’re talking zero baking time here, people. Everything just comes together, chills out in the fridge, and voilà! You have individual, gorgeous portions that taste like you spent hours fussing over them. It’s my favorite trick for busy evenings when I still want something truly special. If you’re looking for easy no-bake desserts, you’ve definitely found your new obsession.
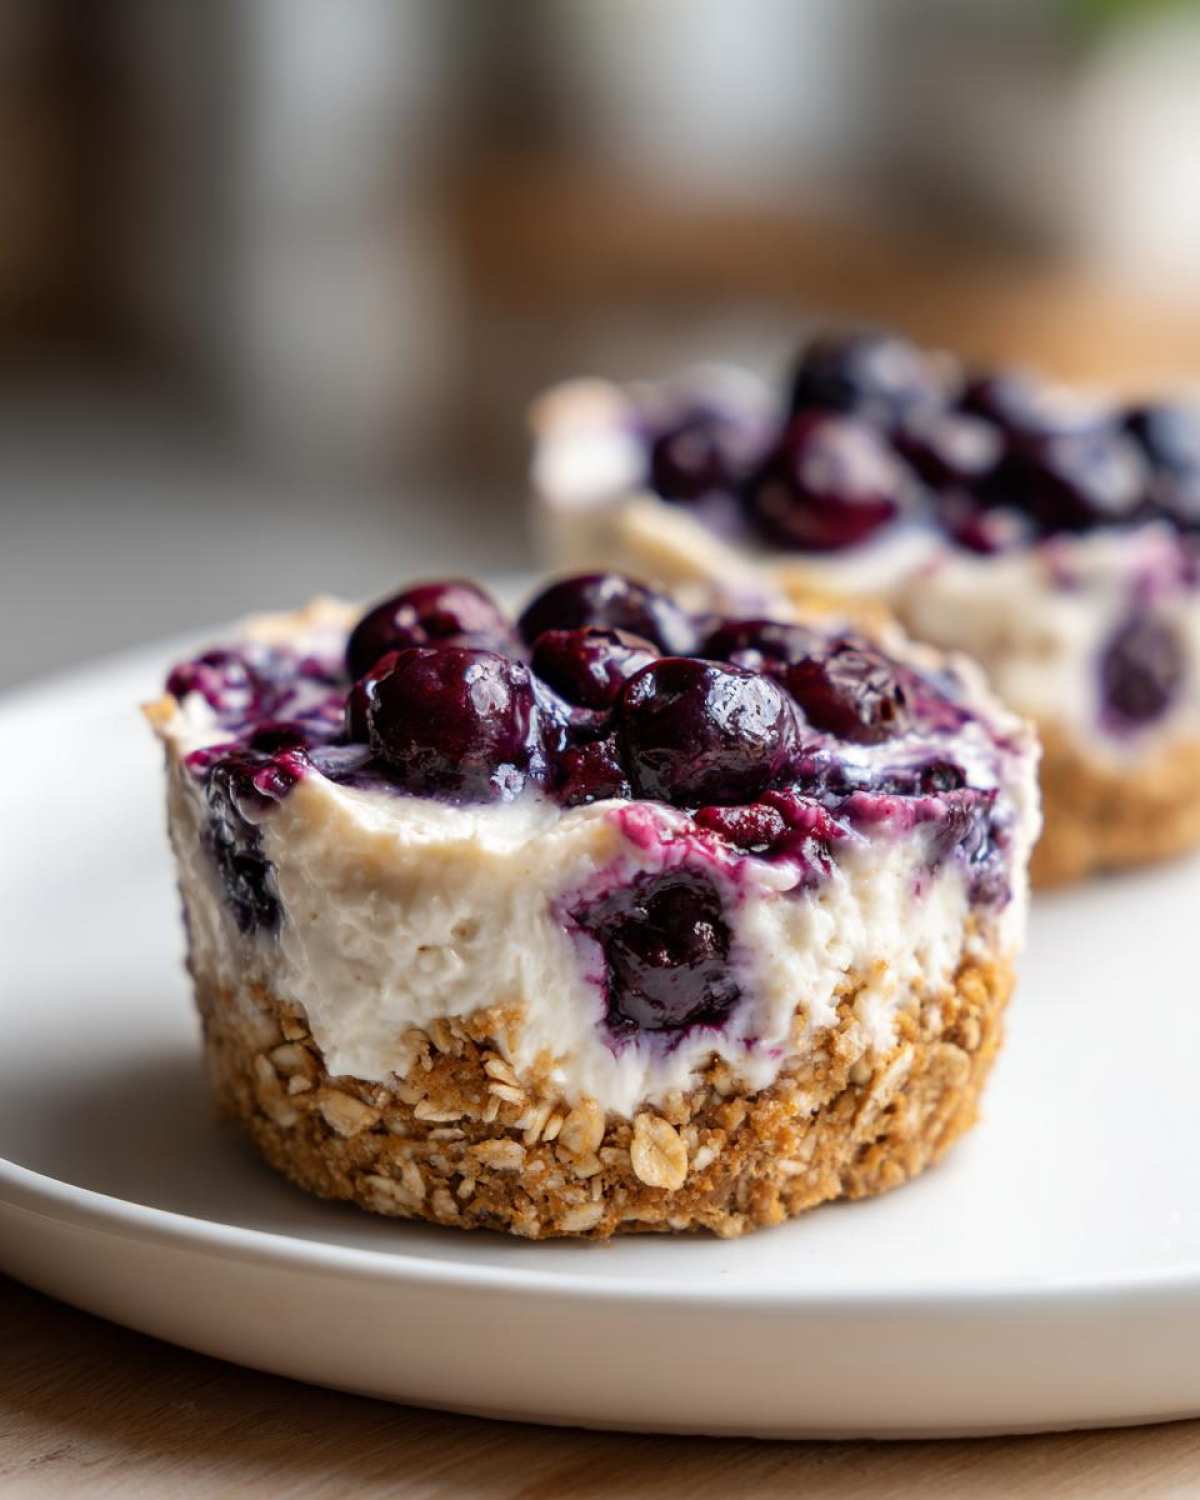
Why You Will Love These No-Bake Blueberry Cheesecake Oat Cups
Honestly, I keep these stocked in the fridge almost constantly during the summer. They solve so many snacking emergencies! You’re going to adore how simple this recipe is, and how professional they look when you pull them out.
- Absolutely No Oven Required: This is a big one! Skip the heat, save on electricity, and keep the kitchen cool. Perfect for those scorching afternoons.
- Perfectly Portioned Treats: Nothing is easier than grabbing one of these little cups. No slicing, no sticky messes—just grab and go! They are fantastic for meal prep, too. I love taking a couple of these for a mid-afternoon treat.
- That Wonderful Oat Crust: We use rolled oats for the base, which gives you a satisfying, slightly chewy crunch that holds up perfectly against the creamy filling. It feels heartier and a bit more wholesome than a regular graham cracker crust. If you are into easy no bake snacks, this crust is your new foundation.
- Make-Ahead Magic: You prepare them today, and they are ready for dessert tomorrow! They firm up beautifully overnight, making them ideal for parties when you need one less thing stressing you out on the day of.
- The Cheesecake Factor Without the Fuss: You get that smooth, tangy, sweet cheesecake flavor we all crave, but without dealing with water baths or worrying about cracks when they cool down.
- Bright Blueberry Flavor: The fresh, slightly tart blueberries cut through the richness of the cream cheese filling perfectly. It’s just the right balance of sweetness and fruit!
Essential Ingredients for No-Bake Blueberry Cheesecake Oat Cups
Okay, the ingredient list for these oat cups is super short, which is why I love them so much! You don’t need a huge pantry haul for this one. Everything works together harmoniously, but attention to the *state* of your ingredients is everything, especially since we aren’t baking them.
First up is the base. You absolutely must use 1 cup of regular rolled oats. Don’t grab the instant stuff—it gets too mushy! We need structure. Mix those with 1/4 cup of melted coconut oil and 2 tablespoons of maple syrup for sweetness, plus just a pinch of salt to deepen the flavor. If you need gluten-free oat cup base options, just make sure your oats are certified GF!
For that classic cheesecake texture, you need 8 ounces of cream cheese, and make absolutely sure it’s softened to room temperature—if it’s cold, it won’t mix smooth! That gets paired with 1/2 cup of powdered sugar (not granulated!), 1/4 cup of tangy Greek yogurt or sour cream, and 1 teaspoon of vanilla extract. Finally, about 1/2 cup of fresh or frozen blueberries gives us the beautiful color and that lovely fruity pop.
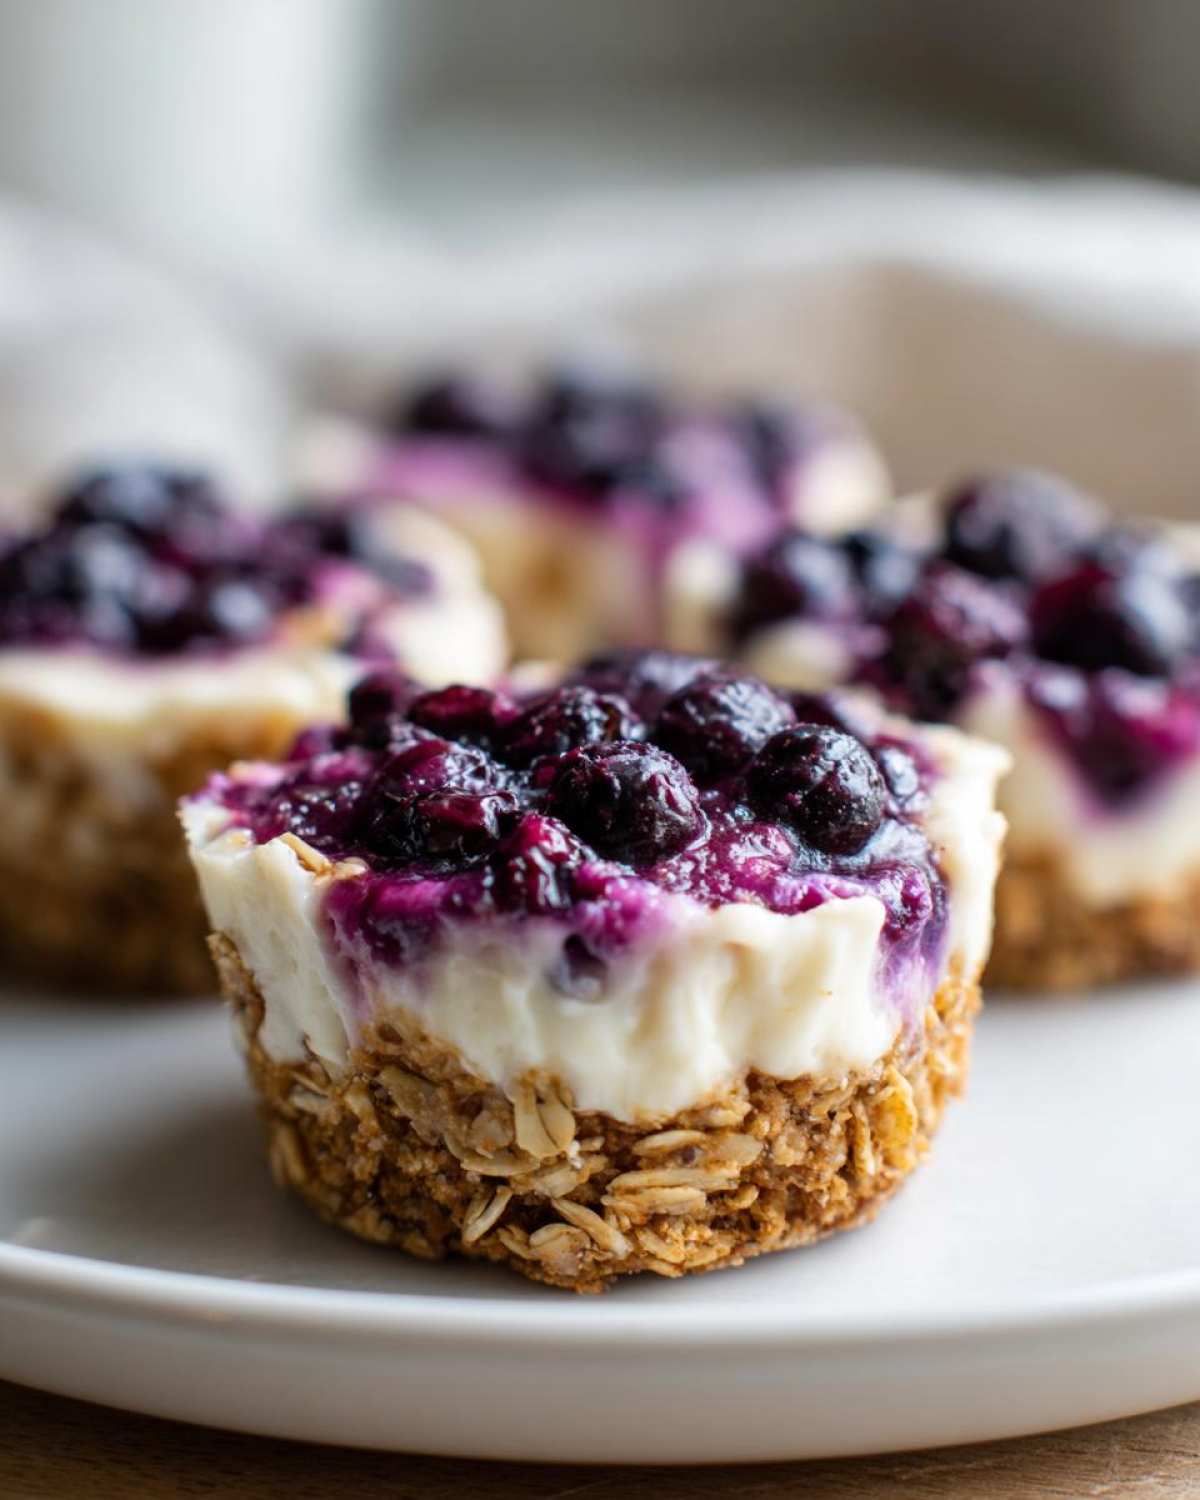
Step-by-Step Instructions for Perfect No-Bake Blueberry Cheesecake Oat Cups
These instructions are designed so you can’t mess it up, even if you’re rushing! Since we aren’t using the oven, the chilling process is truly our biggest time commitment, so don’t skimp on that time in the fridge. I always line my 12-cup muffin tin first with paper liners—this is key for easy removal later when we talk about those lovely make ahead cheesecake portions.
Preparing the Oat Crust Base
First things first: grab a small bowl for the crust. Dump in your rolled oats, melted coconut oil, maple syrup, and that tiny bit of salt. Now, mix it up good! You want every single oat flake to look glossy and coated. Once it’s combined, dole out about 1.5 tablespoons of that mixture into the bottom of each paper liner. Here’s my secret: use the bottom of a small glass or the back of a spoon to really pack it down firmly. A dense crust prevents a crumbly end product, so press hard!
Once the crusts are perfectly packed, slip the whole tin into the freezer while you whip up the creamy part. A few minutes in the freezer makes sure that coconut oil base locks into place.
Creating the Simple Cheesecake Filling
Time for the magic! Grab your mixing bowl and beat that softened cream cheese until it is silky smooth. Seriously, no lumps allowed! Once it looks like nice, fluffy whipped cream, slowly add in your powdered sugar, then the Greek yogurt (or sour cream—I use yogurt for a little tang!) and vanilla. Beat until everything is just combined and beautifully creamy. You don’t want to overbeat this filling once the sugar is in!
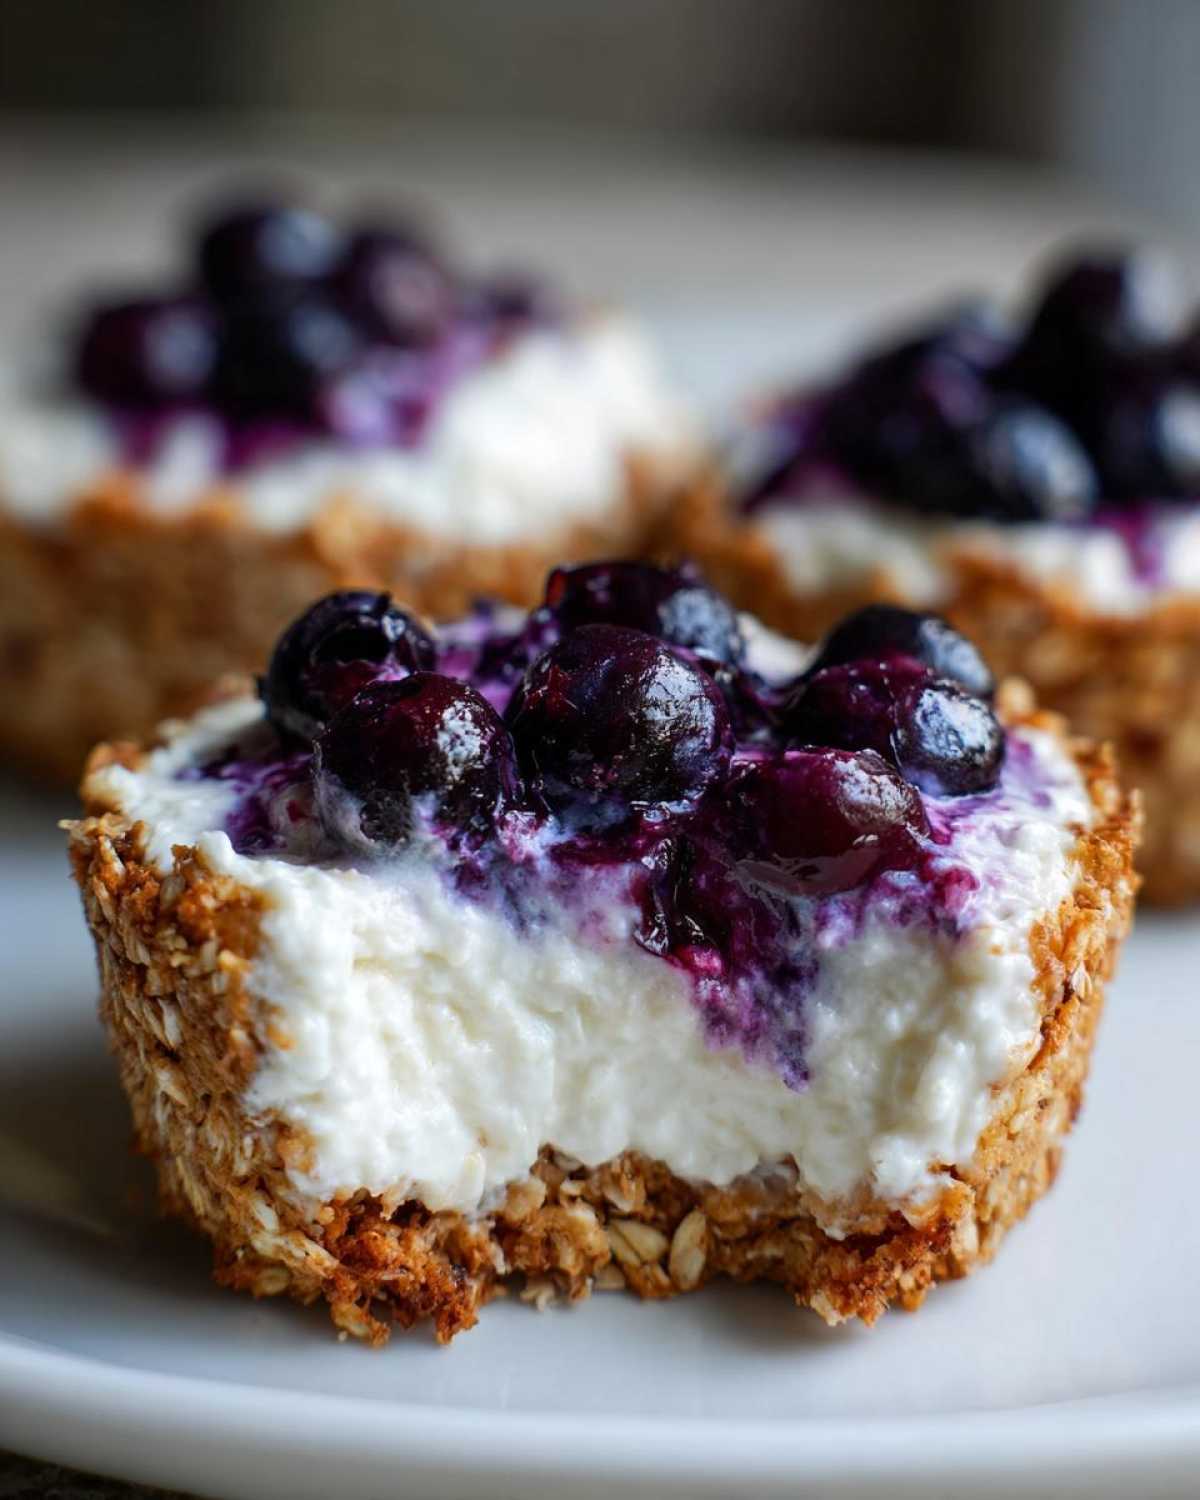
Now, this is where the blueberries come in. Gently fold those little guys into the filling. I mean *fold*—don’t stir vigorously! We want the blueberries to stay whole and distributed, not burst and turn the whole filling purple. Spoon this gorgeous filling evenly over the chilled oat crusts you made earlier.
Chilling and Serving Your No-Bake Blueberry Cheesecake Oat Cups
After you’ve filled all 12 cups, they need time to firm up completely. Pop the tray back into the refrigerator—not the freezer this time! They need a minimum of four full hours chilling time for that cheesecake to set properly. If you can leave them overnight, even better! Once they are nice and solid, just grab the paper liner and gently peel it away. Serve them straight from the fridge for the best texture!
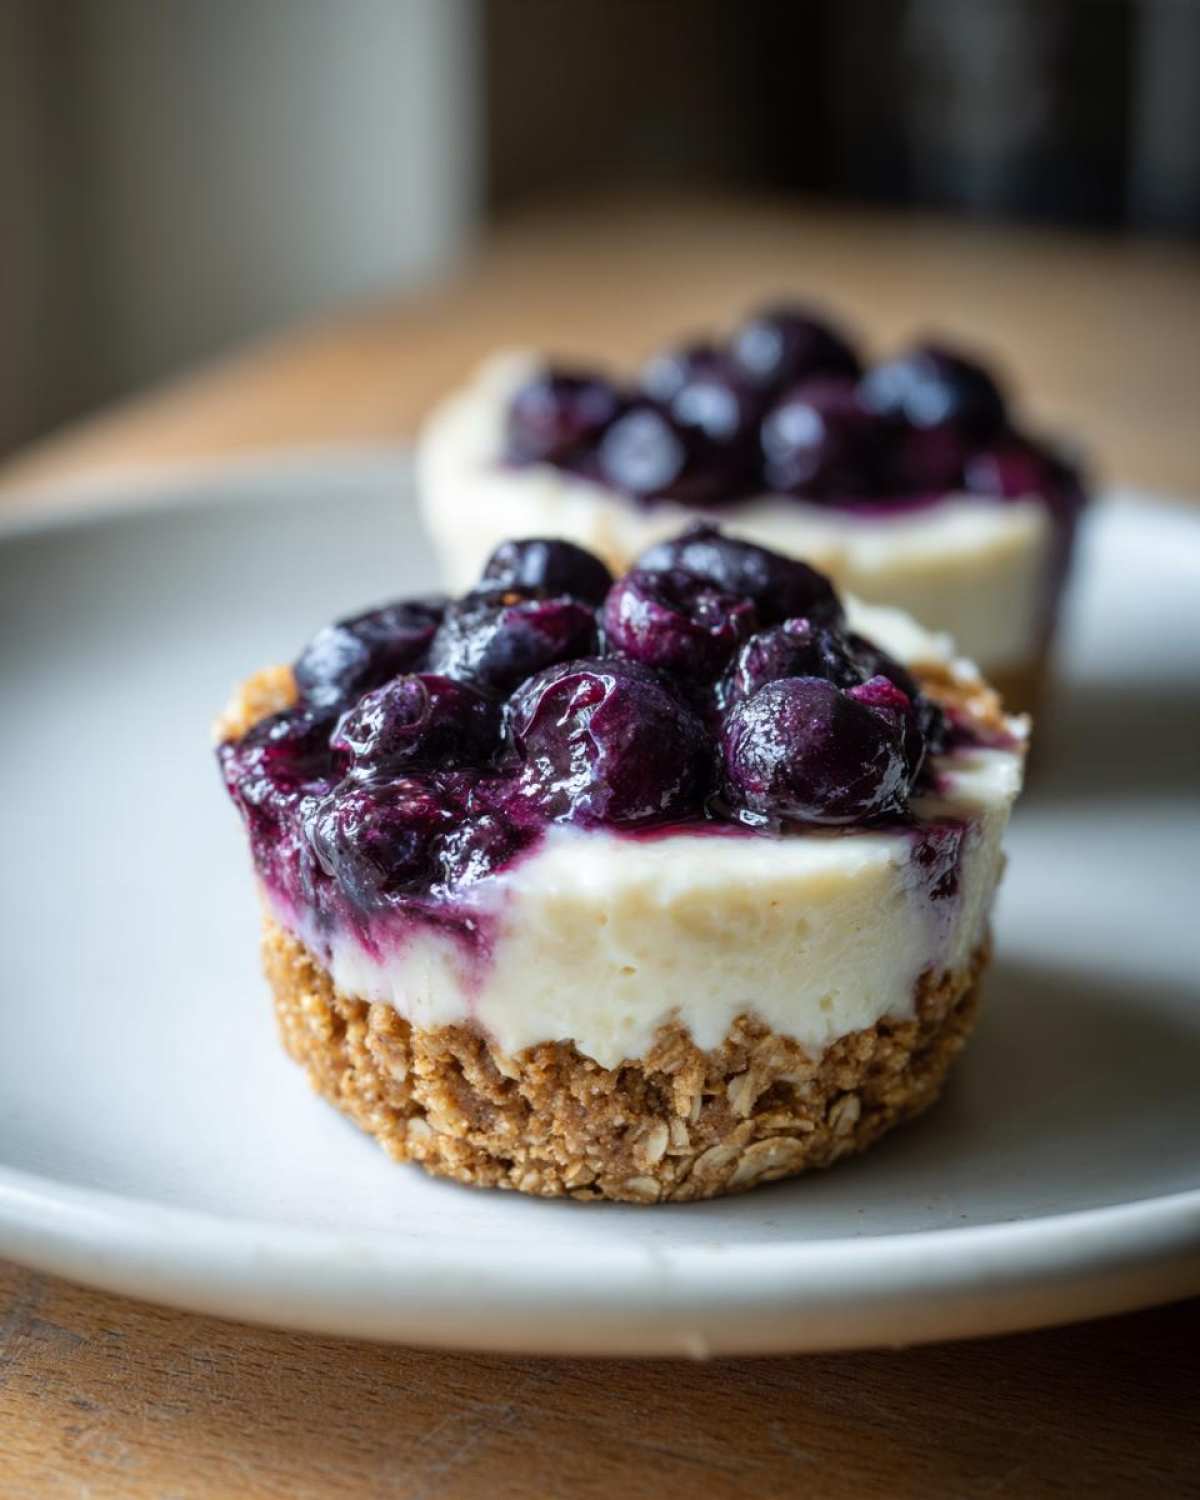
Tips for Success with Your No-Bake Oat Crust Desserts
When you’re making any no-bake oat desserts, temperature is your best friend, or your worst enemy if you ignore it! Please, please, please let your cream cheese come to full room temperature. If it’s stiff, you’ll end up with tiny cream cheese pebbles in your filling, no matter how long you beat it. That’s the number one thing that ruins the smoothness!
When it comes to the blueberries, whether you use fresh or frozen, be gentle when mixing them in. If you use frozen, don’t thaw them first—they’ll bleed color way too much. Just toss the frozen ones right into the mixed filling and fold them gently. Finally, remember that base: press that oat crust down like you mean it! If it’s packed firmly, it won’t crumble when you try to pull the liner off later.
Ingredient Notes and Substitutions for Blueberry Cheesecake Cups Recipe
Since these little delights rely entirely on chilling to set up, we have to be smart about our ingredients. Think of this less like traditional baking and more like building a really delicious, stable structure! You asked about the Greek yogurt or sour cream, right? That’s what gives the filling that little bit of necessary body and that perfect, classic cheesecake tang. It lightens up the richness of the cream cheese just enough so you don’t feel like you’re eating a brick!
If you are avoiding gluten, you absolutely need to check your oats. Standard rolled oats are often processed on shared equipment, so if you need certified individual oat desserts that are guaranteed safe, grab the ones specifically labeled gluten-free. They work identically to the regular ones, so no worries there!
And what about that sticky stuff in the crust? Maple syrup is my go-to because it adds a warm background note that pairs beautifully with the oats. But if you’re out, honey is a fantastic 1:1 swap. If you need a vegan option for the crust, you could probably use agave nectar, though you might need a tiny bit less since agave tends to be sweeter than maple syrup. Just use caution when swapping sweeteners, as they affect how firmly the crust binds together!
Variations: Customizing Your Individual Oat Desserts
Part of the fun of simple recipes like this is tweaking them until they feel totally like *yours*! Since the structure is so solid—thanks to that chilly environment—we can play around with the flavors without worrying about the whole thing collapsing into a puddle. I love experimenting, especially when I’m following what’s fresh at the market. If you’re tired of blueberries for a second, or you just want to elevate that cheesecake zing, here are my absolute favorite ways to customize these little cups!
One of the easiest ways to switch things up is swapping the fruit. If you happen to have some gorgeous fresh raspberries on hand, use those instead of the blueberries. Raspberries are a bit tarter, and when they hit that cool, creamy filling, it’s heaven! They tend to hold their shape a bit better than blueberries too, which means you get defined pops of color throughout your dessert cup. You can find some other neat ideas for using up fresh fruit in my fresh blueberry recipes no bake collection if you need inspiration.
If you want to stay strictly in the blueberry family but need a flavor boost, try adding some citrus! I always keep a fresh lemon nearby. Add just the zest of half a small lemon into the filling mixture right when you add the vanilla and yogurt. That tiny kick of brightness really cuts through the cream cheese richness; it makes the whole thing taste lighter and more like a sophisticated summer dessert. Don’t add too much juice, though, or you might compromise the set!
And finally, the crust is just begging to be customized! If you’re leaning away from maple syrup, you could try using a touch of brown rice syrup instead, though you might need just a hair less liquid in the mix. Or, for a nutty twist, try adding a tablespoon of finely ground pecans or walnuts into the oat mixture. Just make sure those nuts are ground fine—we still want that lovely pressing power for a stable base foundation for our individual oat desserts!
Storage and Make Ahead Cheesecake Portions
One of the biggest reasons I champion these as the ultimate overnight blueberry cups is how wonderfully they store. Seriously, if you have any leftovers because you only intended to make a couple (which never happens!), they keep like a dream. Since these are completely no-bake, we have to treat them like refrigerated items, meaning no leaving them out on the counter while you watch TV!
The absolute best way to store them is right where they set up: in the refrigerator. You must keep them covered, or the tops might start to dry out a little, or they might absorb any lingering smells from your fridge—nobody wants tuna-flavored cheesecake, right? I usually line the muffin tin edges with a little extra parchment paper before covering the whole thing loosely with plastic wrap. Stored this way, they stay perfectly fresh and creamy for about 4 to 5 days. That’s almost a full week of ready-made snacks!
Can I freeze the No-Bake Blueberry Cheesecake Oat Cups?
Yes, you absolutely can freeze them, and this is a lifesaver for making ahead for events like holidays or big gatherings! Before freezing, make sure the cups are fully set—at least 6 hours in the fridge is best. Once they’re solid, you can pop them directly into the freezer. I find that leaving them in their paper liners is easiest, but for long-term storage (over a month), you might want to transfer them to an airtight, freezer-safe container where they won’t get squashed.
The secret to thawing is patience. Do not try to microwave these; you’ll literally melt the cheesecake filling into soup! Take the container or tray out of the freezer and let them sit in the refrigerator for a good 6 to 8 hours, or even overnight. They thaw perfectly, maintaining that firm texture on the oat base and the creamy texture on top. When they are thawed, they taste just as good as the day you made them!
Frequently Asked Questions About No Bake Oat Desserts
I know when you try a new dessert style, especially one that skips the oven, you’re going to have questions! That’s totally fair. These no bake oat desserts are simple, but knowing the details really helps guarantee that perfect set. I’ve gathered the questions I always get asked about making these and similar no bake oat desserts.
Can I use instant oats instead of rolled oats for the crust?
Oh, please don’t! Trust me on this: stick to old-fashioned rolled oats. Instant oats are too fine and processed, and they just don’t have the structure we need when dealing with coconut oil as the binder. If you use instant oats in your crust, you’ll end up with a mushy, almost paste-like base that won’t hold up when you try to pull the cup out of the liner. We need that heartiness only rolled oats can bring!
How long do those blueberry cups absolutely need to chill before serving?
This is the make-or-break moment for any no-bake recipe! While you can technically put them in the freezer to speed things up, the texture is best when they chill slowly in the fridge. The minimum time is four hours, but if you want truly firm make ahead cheesecake portions that won’t smoosh, I suggest six hours or, ideally, making these the day before. When they’re fully chilled, the cream cheese filling is firm enough to slice cleanly when you pull the liner away.
Are there any simple ways to make these vegan?
That’s a great question for making individual oat desserts vegan-friendly! The oat base is easy—just ensure your maple syrup is vegan (it almost always is) and use a plant-based butter substitute instead of coconut oil if you prefer, though coconut oil works wonderfully for binding. The hard part is the filling. You would need to substitute the cream cheese with a high-quality vegan cream cheese alternative, and swap the Greek yogurt for a thick, plain, full-fat coconut yogurt. You might need a touch more powdered sugar or a tiny bit of cornstarch mixed in to help it firm up if the vegan replacements are softer than traditional dairy.
Can I make these ahead of time for a party, like keeping them overnight?
Absolutely! That’s one of the major perks of these quick blueberry desserts. They are designed to be made ahead. In fact, like many cheesecake recipes, I think they taste even better the next day once all those flavors have settled together in the fridge. Just make sure they are tightly covered so they don’t absorb any off-flavors from your refrigerator air.
What if I don’t have paper liners? Can I still use these as grab and go breakfast cups?
You can, but you must grease and flour your muffin tin really well since you want an easy release for these grab and go breakfast cups! I’m talking thoroughly greasing every nook and cranny with coconut oil, and then dusting it with a little oat flour or regular flour. Chill the pan after greasing before you add the crust mixture. While liners are foolproof, a well-greased pan works in a pinch!
Serving Suggestions for Your Quick Blueberry Desserts
Even though these quick blueberry desserts are so simple to make, that doesn’t mean we can’t make them look like they came straight out of a fancy patisserie case! Presentation is half the fun, right? Since they are already perfectly portioned little bites, sometimes all they need is that final flourish right before serving to really make them shine. I always have a few simple garnishes on hand precisely for those moments. If you’re looking for more ideas on presentation, check out my collection of quick blueberry desserts!
The simplest thing you can do, honestly, is sprinkle just a tiny bit more powdered sugar over the top right before you hand them out. It gives them a lovely, fresh, snowy look, especially right after they come out of the cold fridge. It’s classic, and it really enhances how cold and creamy the filling looks!
Garnishing with Fresh Berries and Herbs
If you’ve got some beautiful, plump fresh blueberries rolling around, place just one extra berry right on top of the center of each cup. It adds such a vibrant color contrast against the white cheesecake. This little touch makes people think you spent ages carefully placing fruit, even though you did it in five seconds! For a more sophisticated look—especially if you’re serving these after dinner—grab some fresh mint leaves.
A single, tiny, vibrant mint leaf tucked next to that top blueberry makes all the difference. Mint and blueberry are just heavenly together, and it brings a lovely freshness to the palate after you finish the rich filling. It makes these wonderful individual oat desserts look like they belong on a brunch table!
Adding a Simple Drizzle
If you want to lean into the fruit flavor even more, a drizzle is fantastic. You don’t need a complicated sauce! If you happen to have any leftover blueberry jam or preserves, just warm up a tablespoon or two with a teaspoon of water in the microwave until it’s easily drippable. Then, using a fork or just a small spoon, drizzle that warm, slightly thinner sauce across the top of the cold cheesecake cups. The contrast between the warm drizzle and the cold filling is just heavenly on the tongue.
Alternatively, for another citrusy zip, a very thin drizzle of fresh lemon juice mixed with a tiny bit of powdered sugar works wonders too. It dries quickly into a light, slightly tart glaze layer right on top, enhancing those wonderful tangy notes we built into the filling. These little extra touches honestly take you from “easy snack” to “wow, great dessert” in no time at all!
PrintNo-Bake Blueberry Cheesecake Oat Cups
Prepare simple, individual portions of blueberry cheesecake with a no-bake oat crust. This recipe requires no oven time and sets in the refrigerator.
- Prep Time: 15 min
- Cook Time: 0 min
- Total Time: 4 hours 15 min
- Yield: 12 cups
- Category: Dessert
- Method: Chilling
- Cuisine: American
- Diet: Vegetarian
Ingredients
- 1 cup rolled oats
- 1/4 cup melted coconut oil
- 2 tablespoons maple syrup
- 1/4 teaspoon salt
- 8 ounces cream cheese, softened
- 1/2 cup powdered sugar
- 1/4 cup Greek yogurt or sour cream
- 1 teaspoon vanilla extract
- 1/2 cup fresh or frozen blueberries
Instructions
- Line a standard 12-cup muffin tin with paper liners.
- Combine rolled oats, melted coconut oil, maple syrup, and salt in a small bowl. Mix until the oats are evenly coated.
- Press about 1.5 tablespoons of the oat mixture firmly into the bottom of each lined muffin cup to form the crust. Place the tin in the freezer while you prepare the filling.
- In a medium bowl, beat the softened cream cheese until smooth.
- Add the powdered sugar, Greek yogurt, and vanilla extract. Beat until the mixture is fully combined and creamy.
- Gently fold in the blueberries.
- Spoon the cheesecake filling evenly over the chilled oat crusts in the muffin cups.
- Refrigerate for at least 4 hours, or until firm.
- Remove the paper liners before serving.
Notes
- Use certified gluten-free oats if necessary for dietary needs.
- If using frozen blueberries, do not thaw them before folding them into the filling.
- You can substitute maple syrup with honey in the crust mixture.
Nutrition
- Serving Size: 1 cup
- Calories: 180
- Sugar: 14
- Sodium: 75
- Fat: 10
- Saturated Fat: 6
- Unsaturated Fat: 4
- Trans Fat: 0
- Carbohydrates: 19
- Fiber: 1
- Protein: 5
- Cholesterol: 25